 |
 |
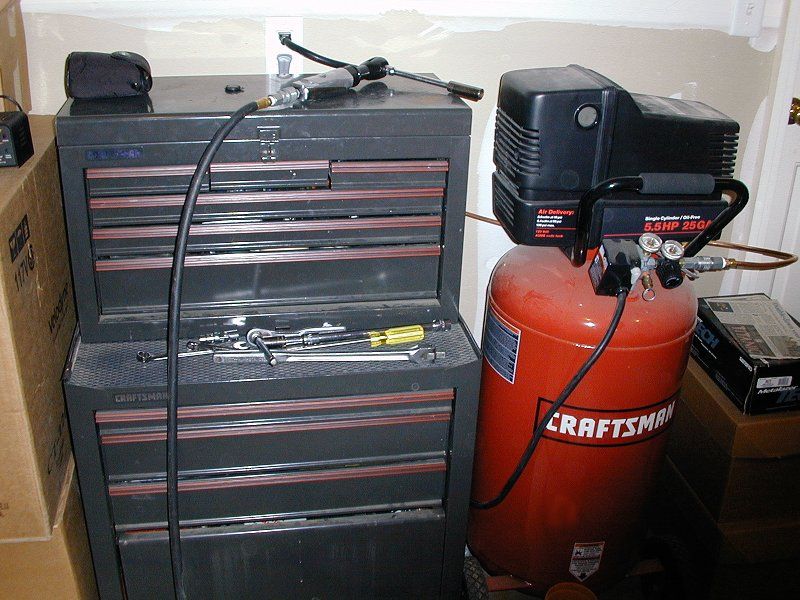
Using one of these will make a job a lot easier.
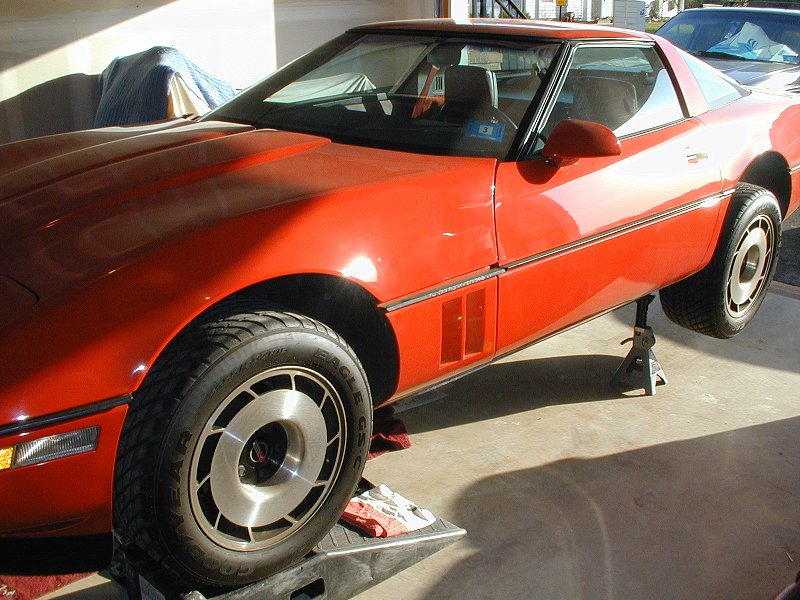
I raised the car and removed the air cleaner and distributor cap.
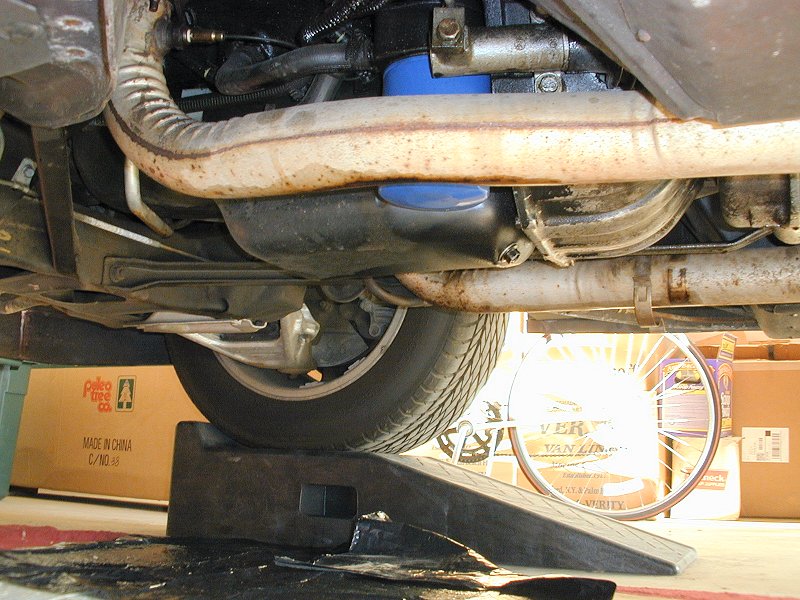
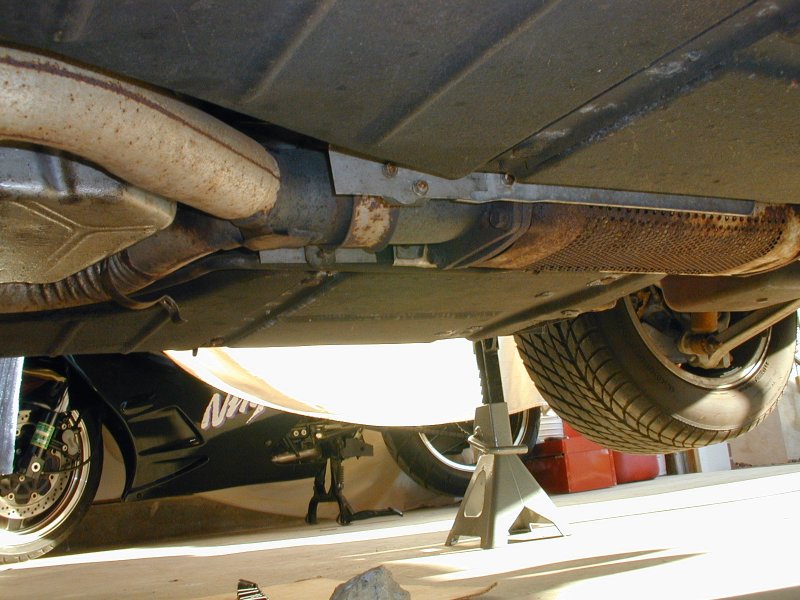
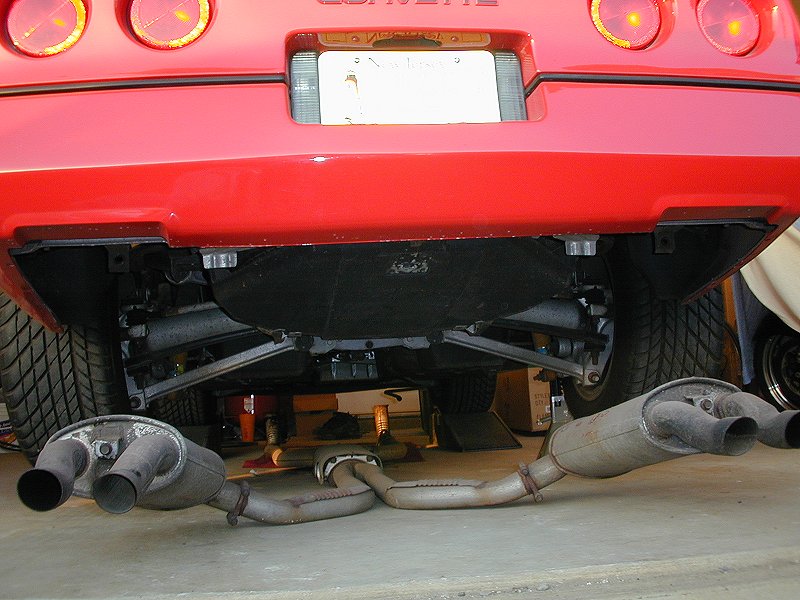
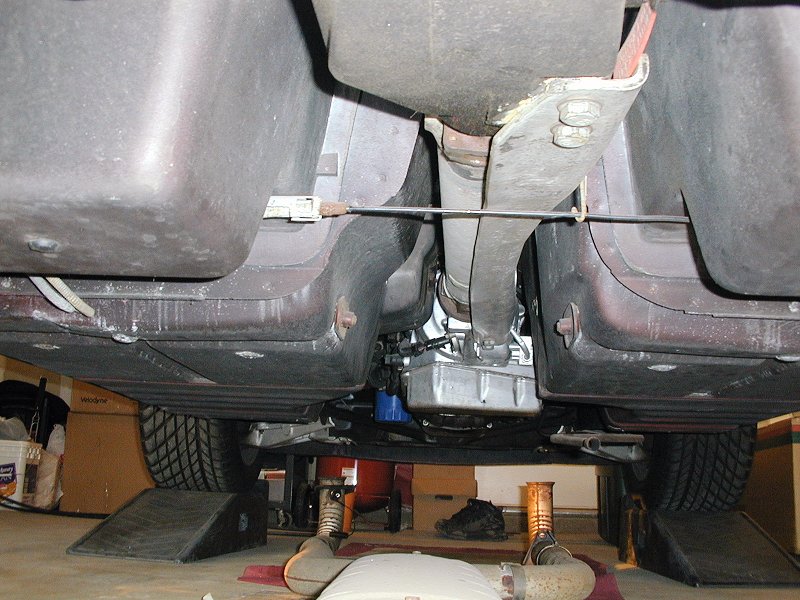
Front of the exhaust.
Middle of the exhaust surrounds the 4+3. That is a ZX-11 next to the car.
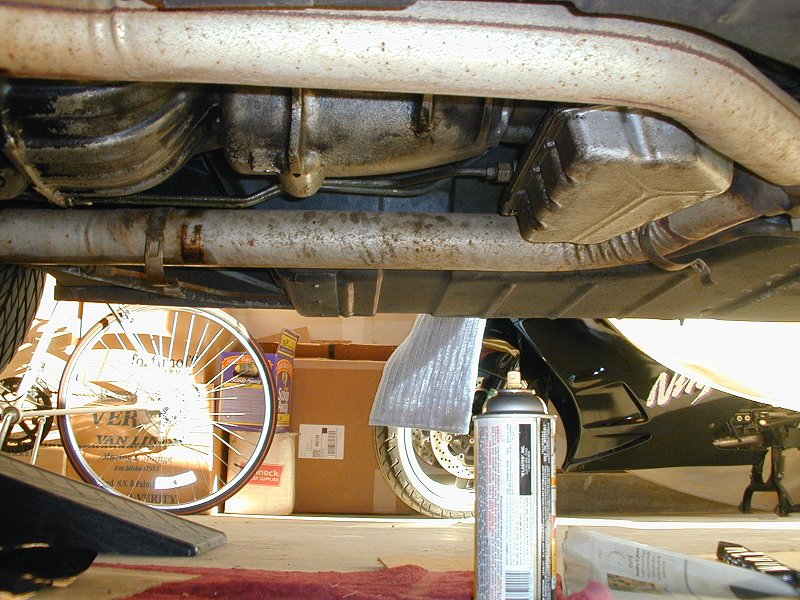
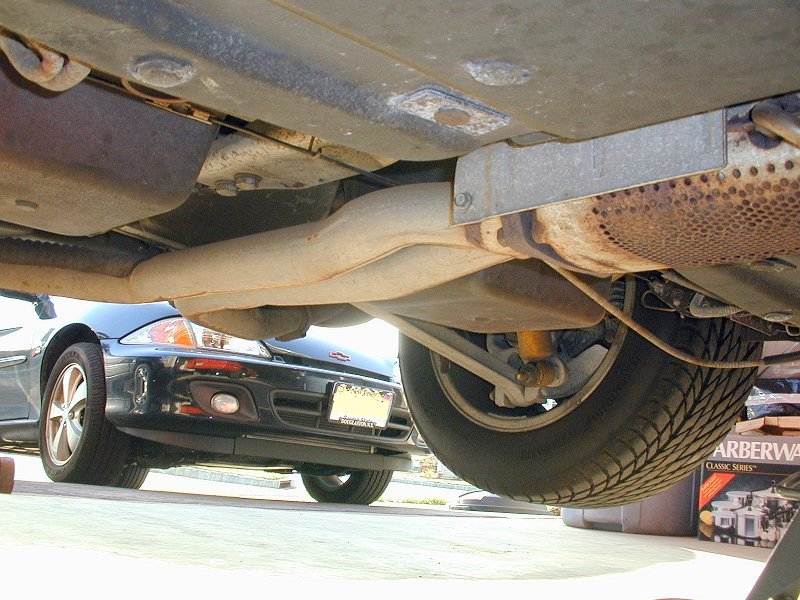
Mid-rear of the exhaust.
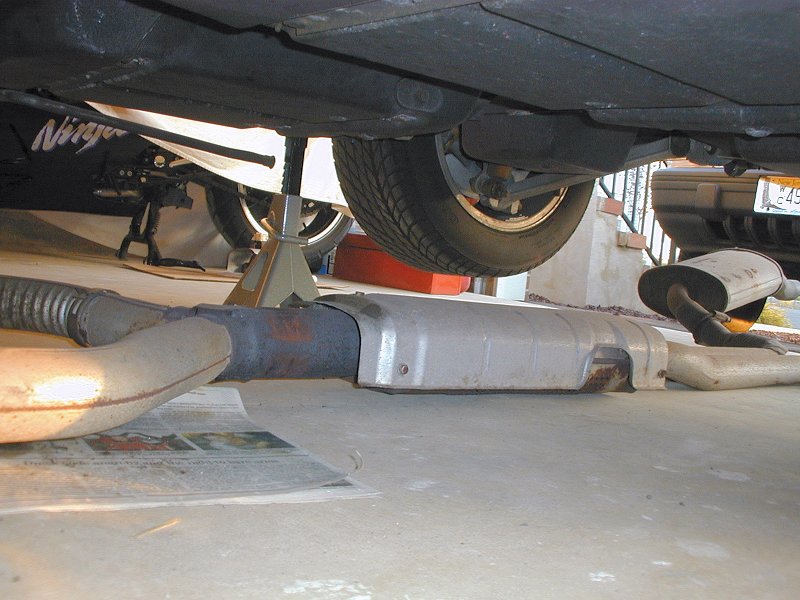
Rear of the exhaust.
Removed exhaust, front shot.
Removed exhaust, front-side shot.
Removed exhaust, middle shot.
Removed exhaust, rear shot.
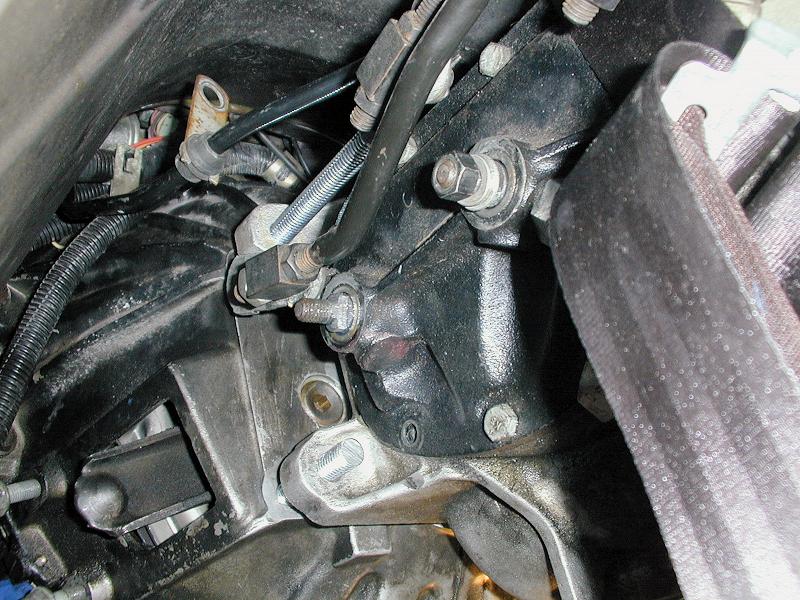
Transmission has to come out.
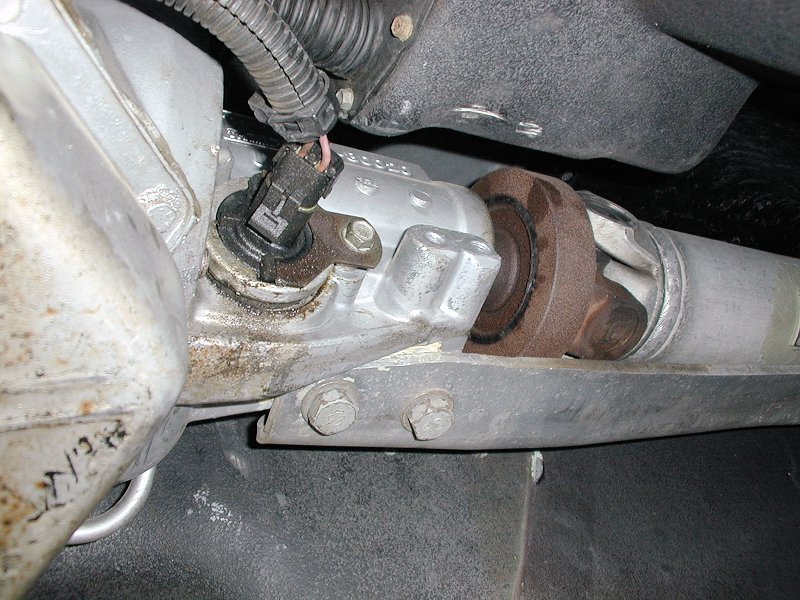
Driveline beam attaches to the trans tail.
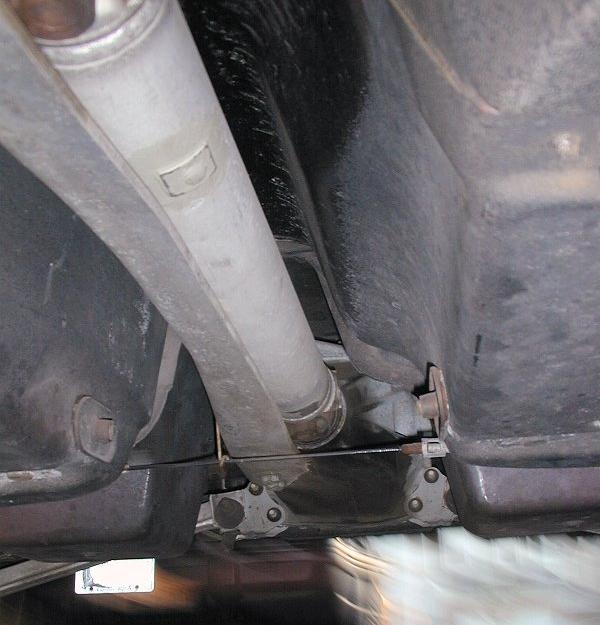
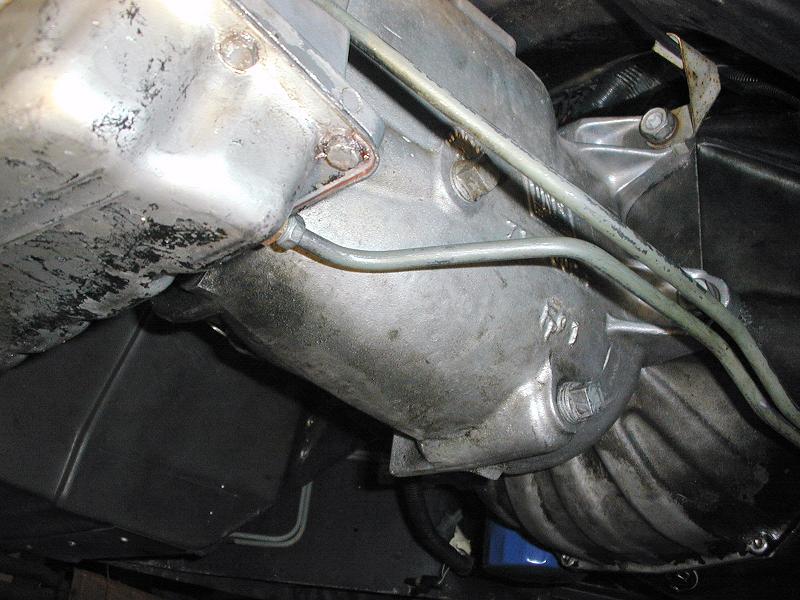
Driveline beam surronds the driveshaft and runs to the rear.
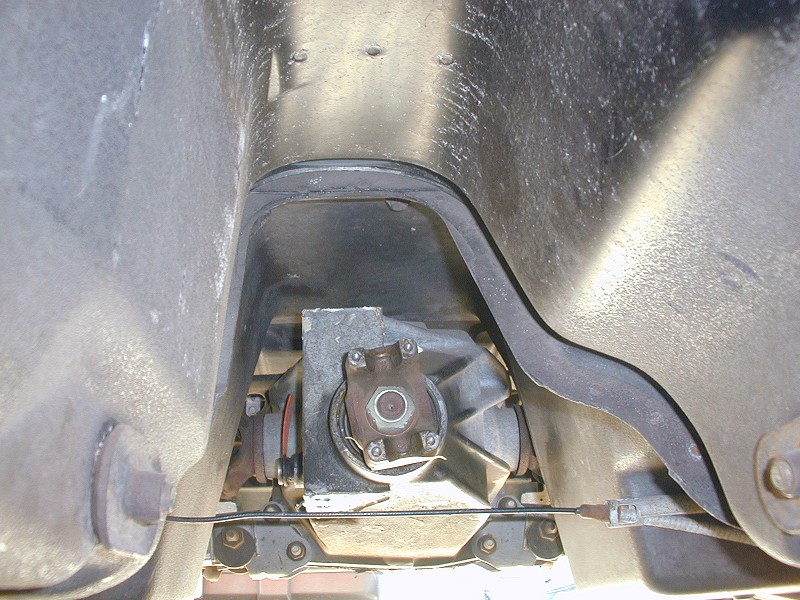
Rear view of the drivetrain.
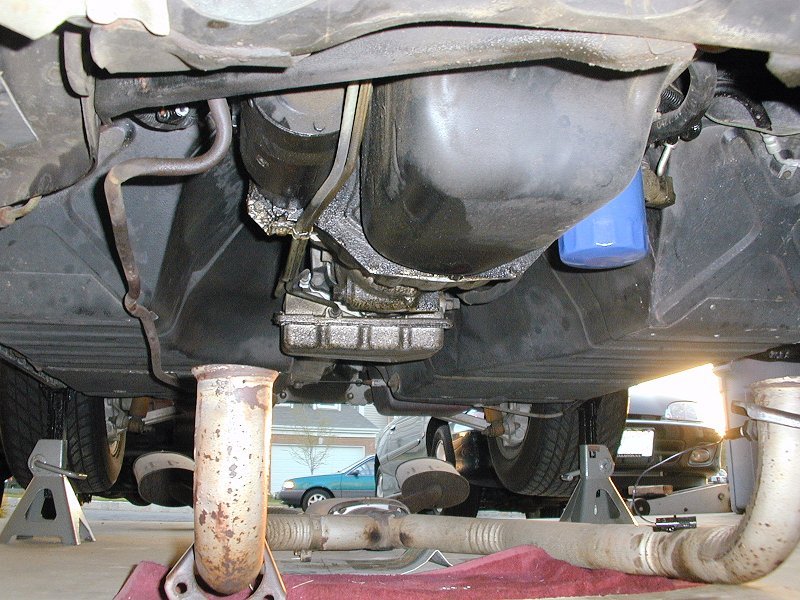
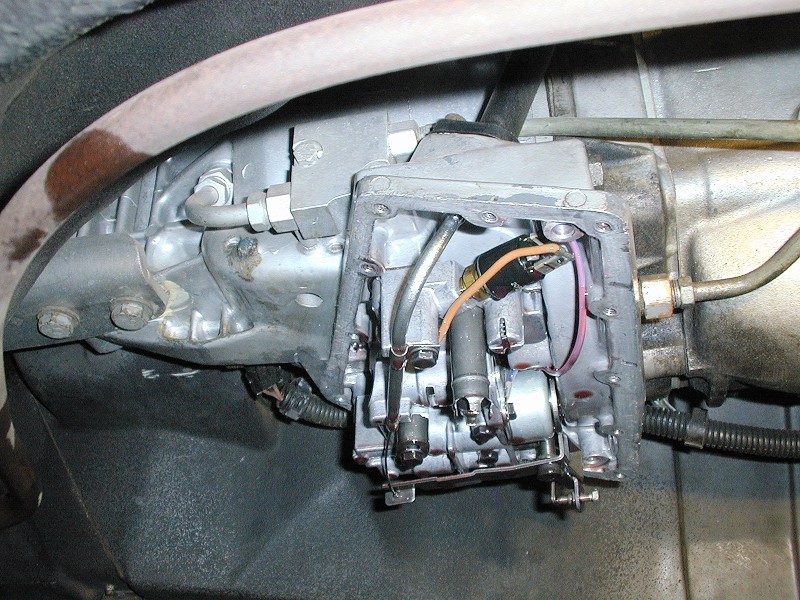
Drained and cleaned the 4+3 Overdrive section.
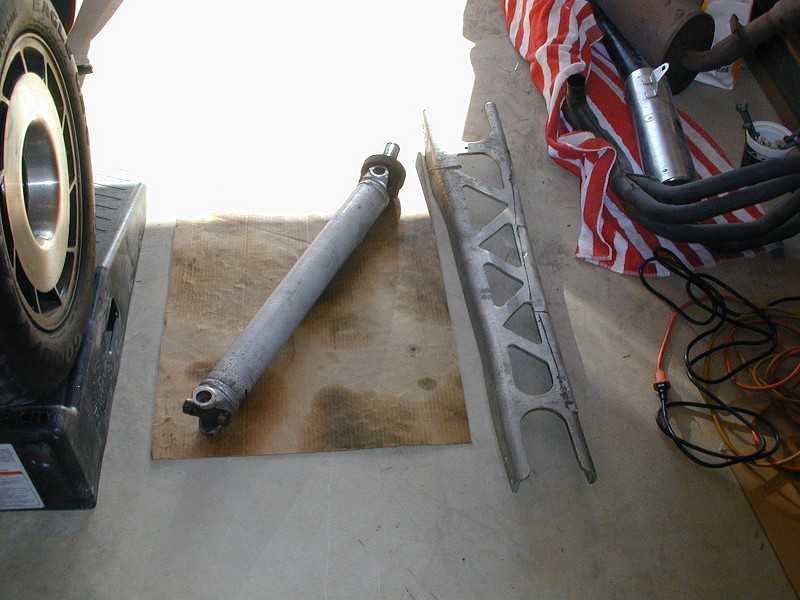
Removed the driveline beam and driveshaft.
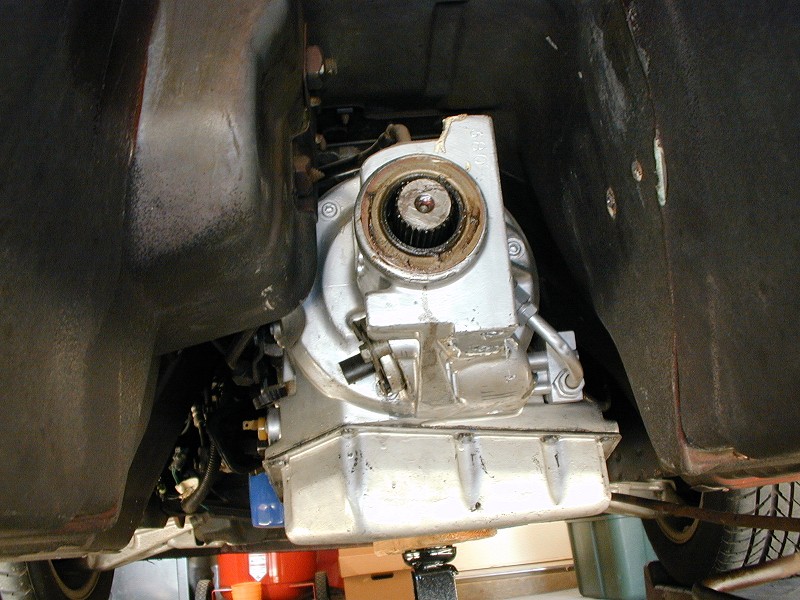
In the tunnel looking at the rear.
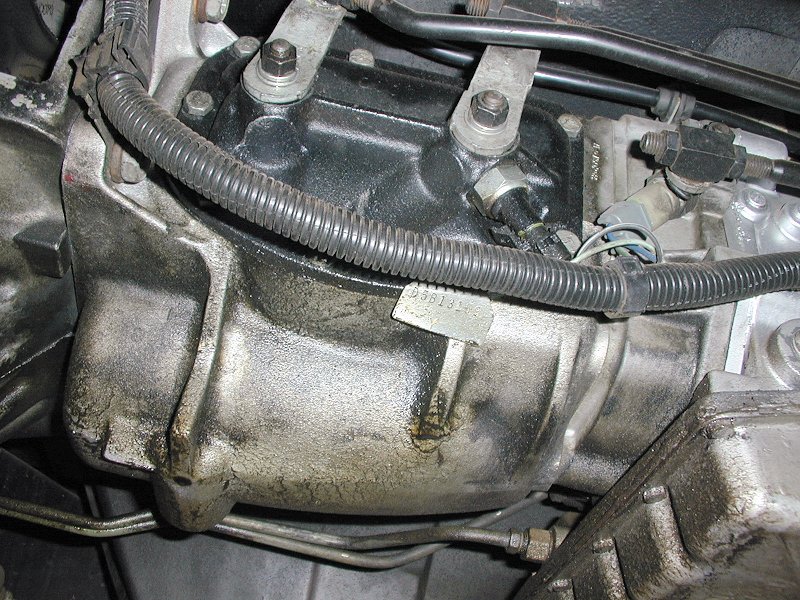
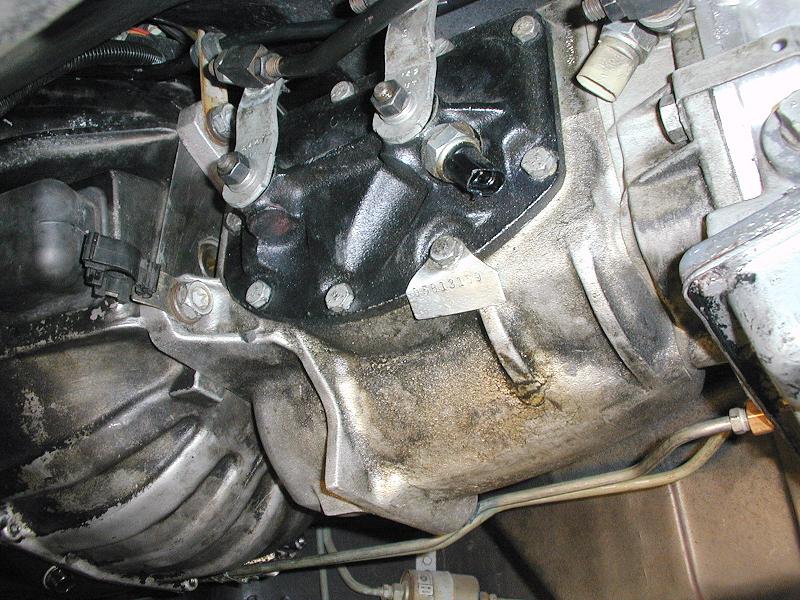
The tail end of the transmission.
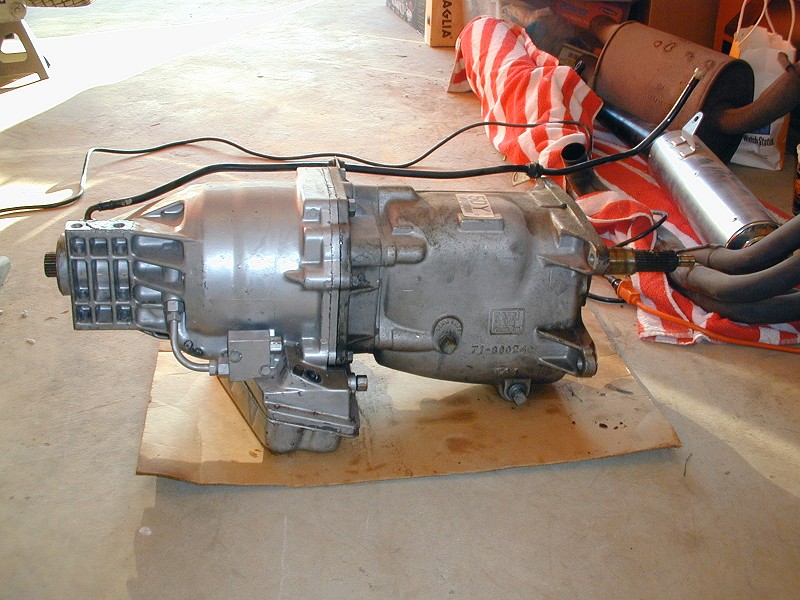
The 4+3 is out, right side. Notice the new Overdrive section.
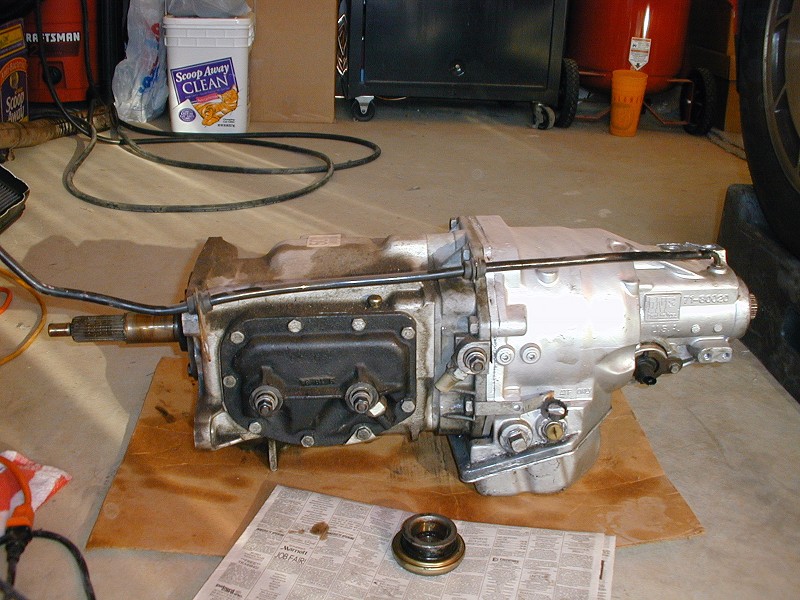
The 4+3 is out, left side.
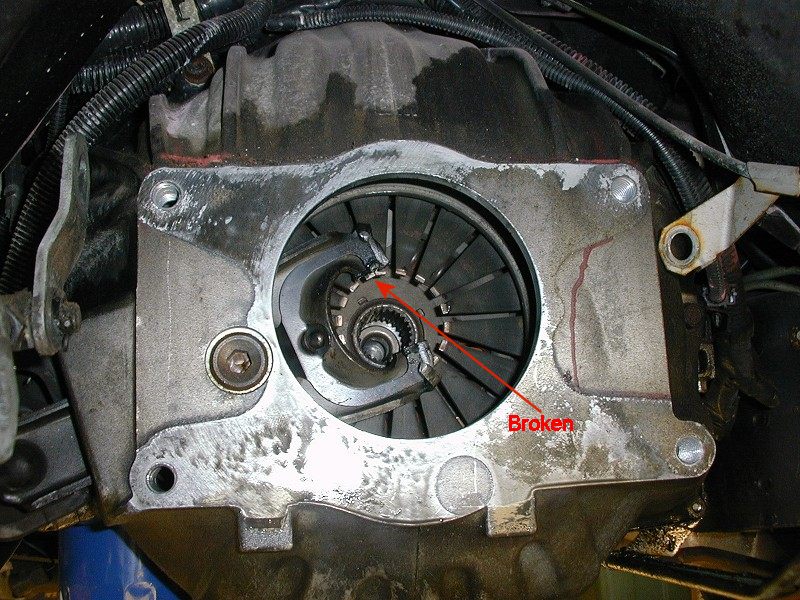
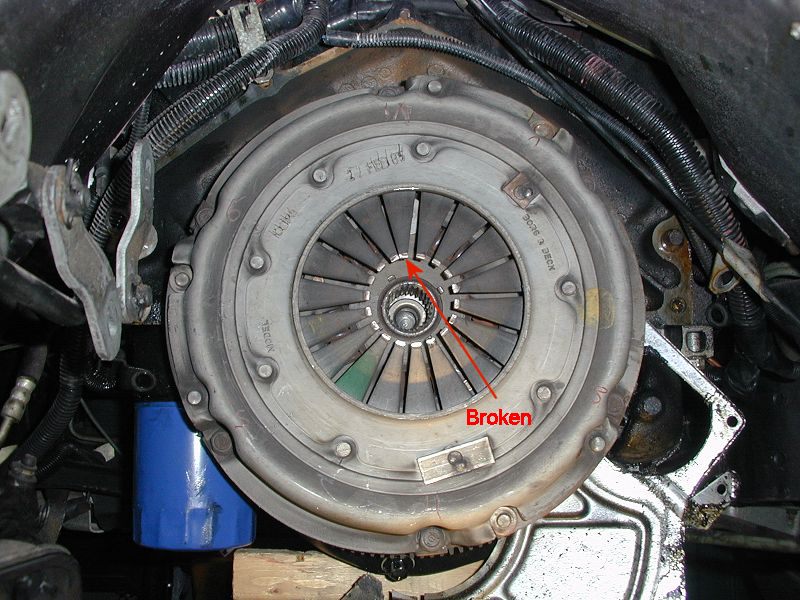
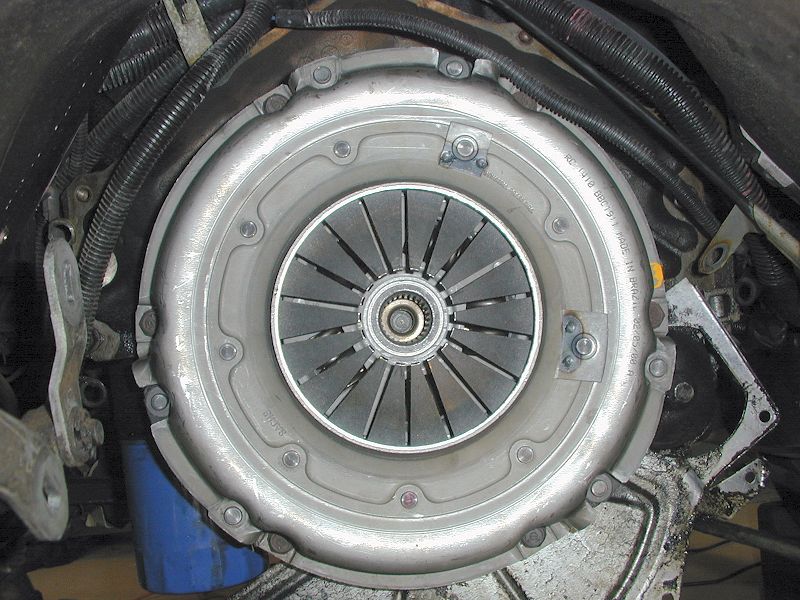
Clutch housing. The broken spring is visible.
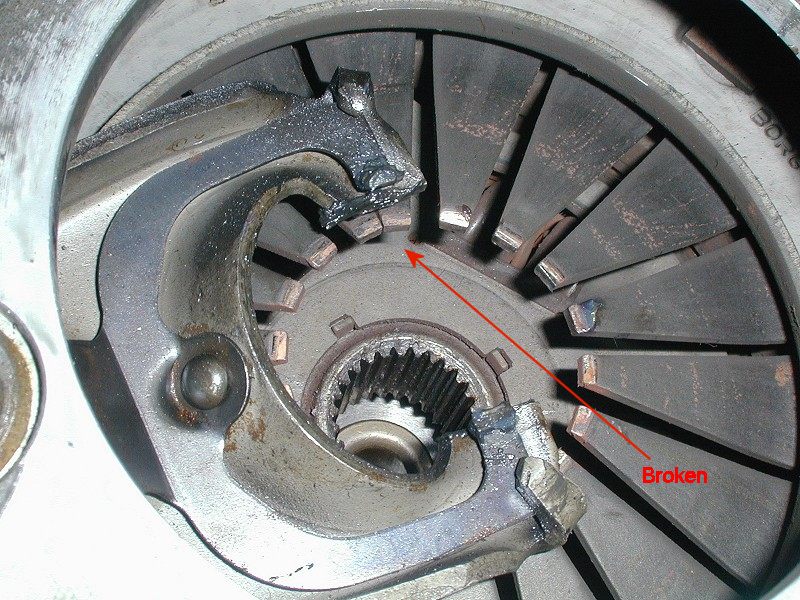
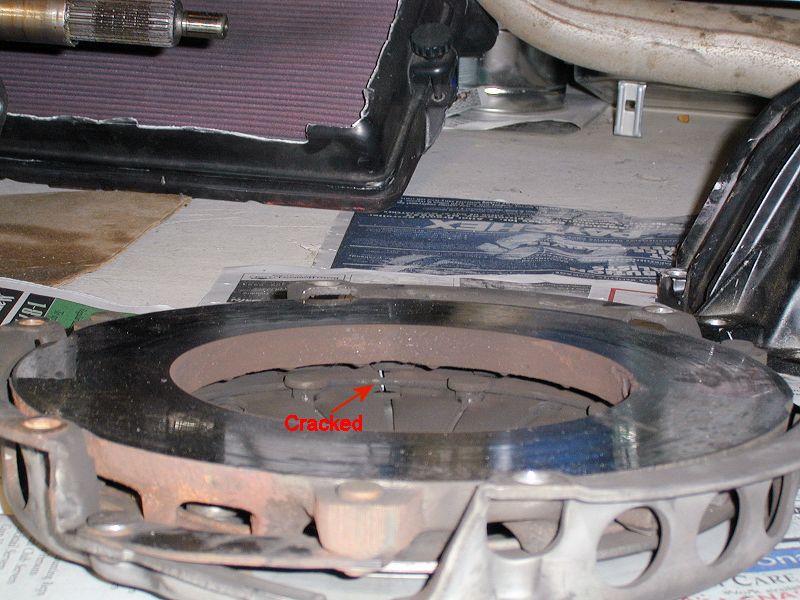
Close up of the pressure plate. The broken spring is visible.
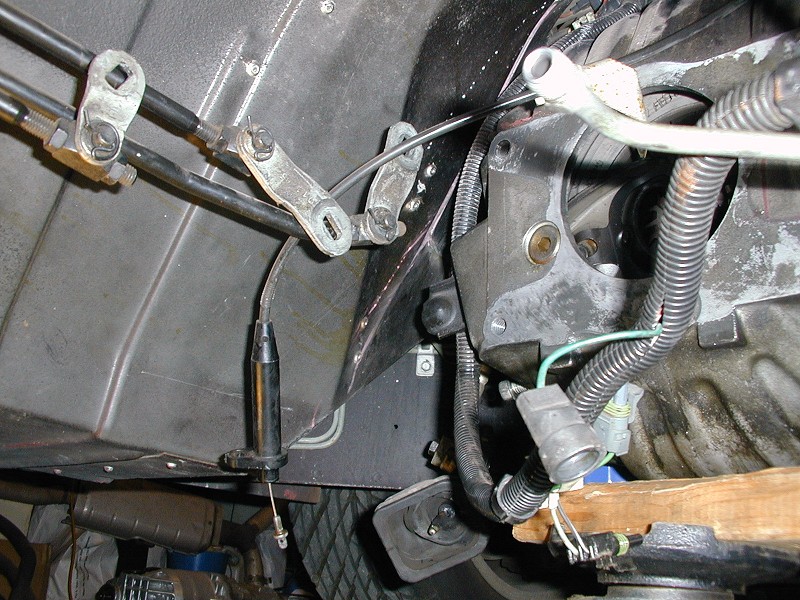
Linkage and other stuff.
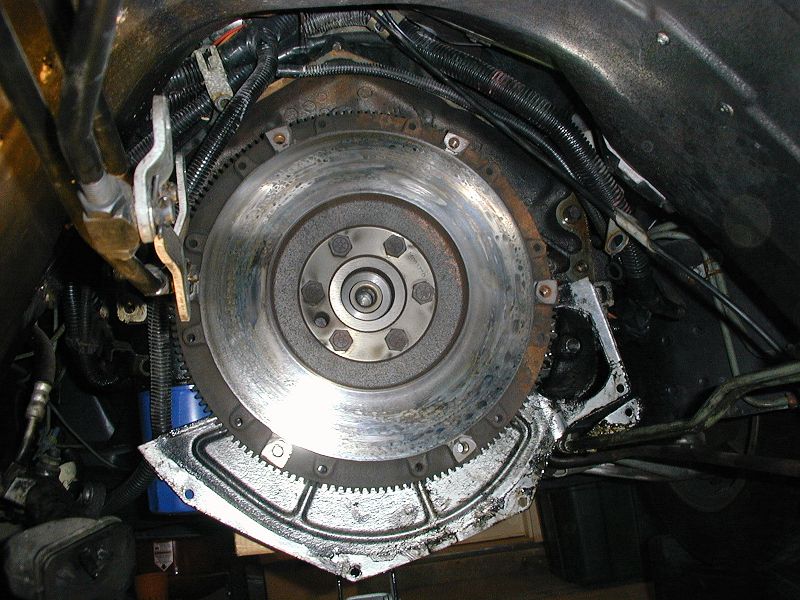
Housing is off and the clutch is ready to come out.
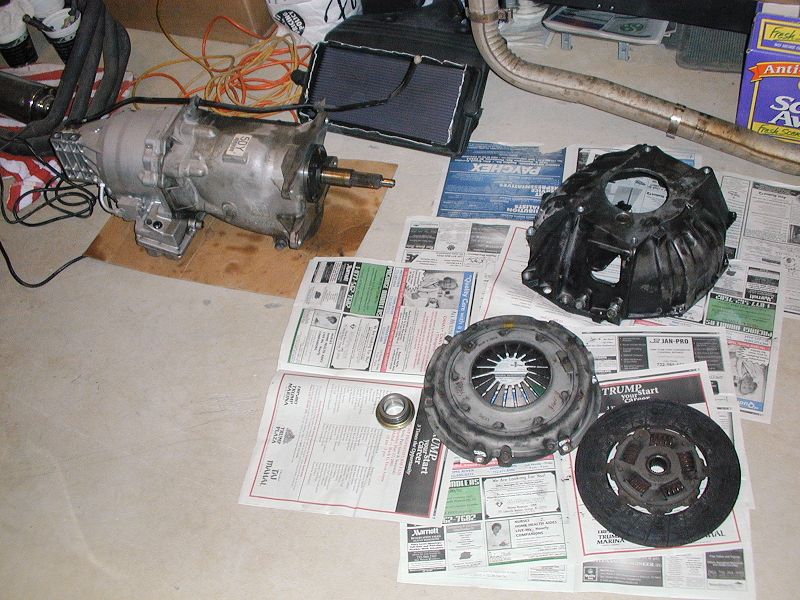
Clutch is out and sitting next to the transmission on the floor.
Flywheel is a little burned.
Close up flywheel pictures.
Broken pressure plate spring.
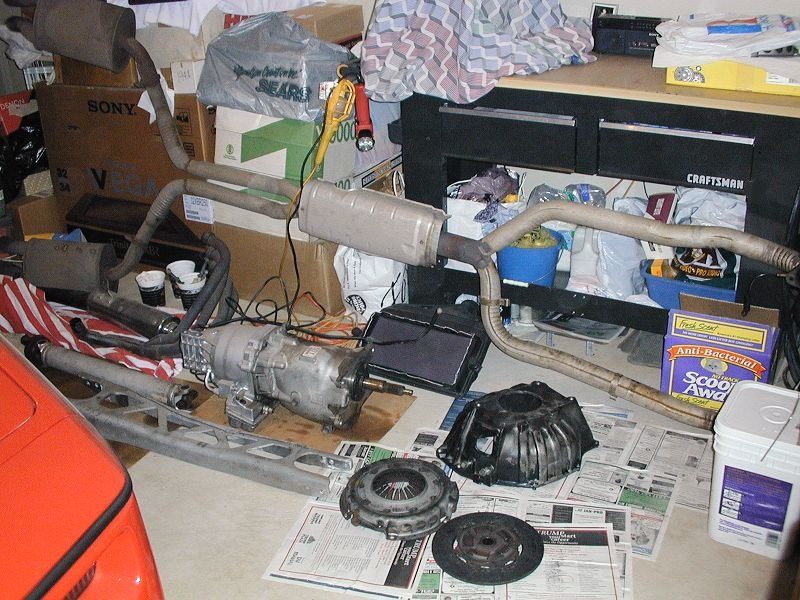
All of the removed parts.
The PLASTIC throwout bearing that LuK sent me.
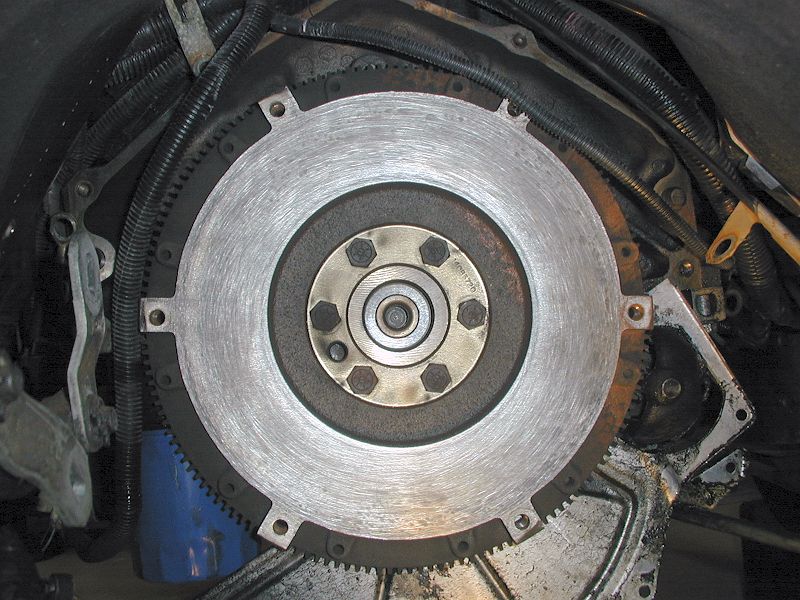
Cleaned up the flywheel.
Installed and aligned the new clutch.
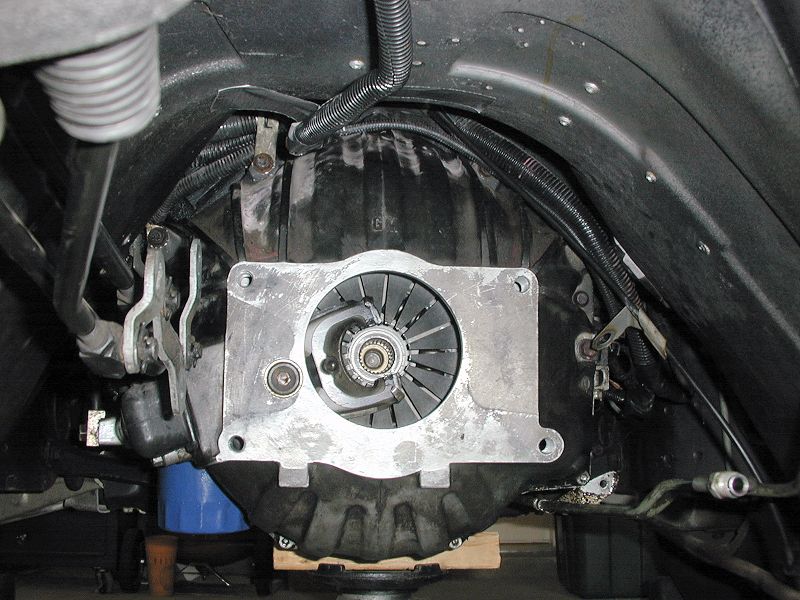
Installed the bellhousing.
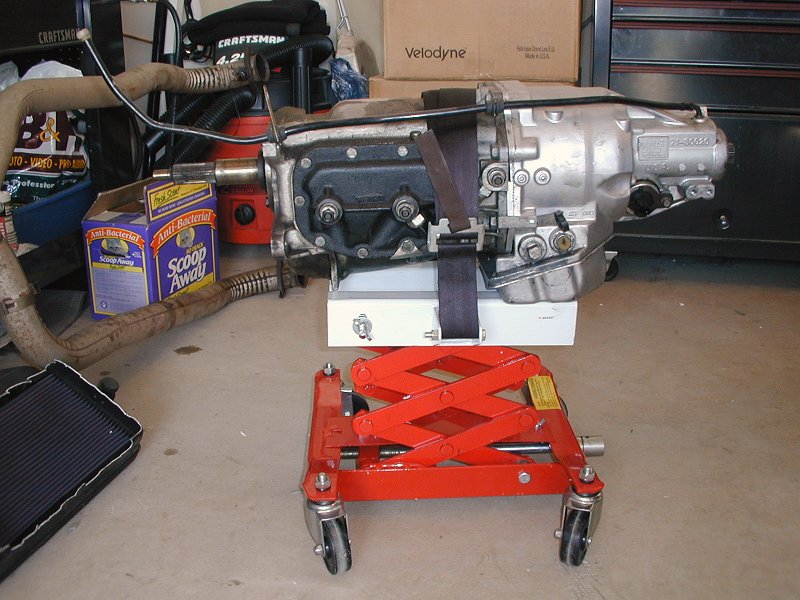
4+3 on my transmission jack.
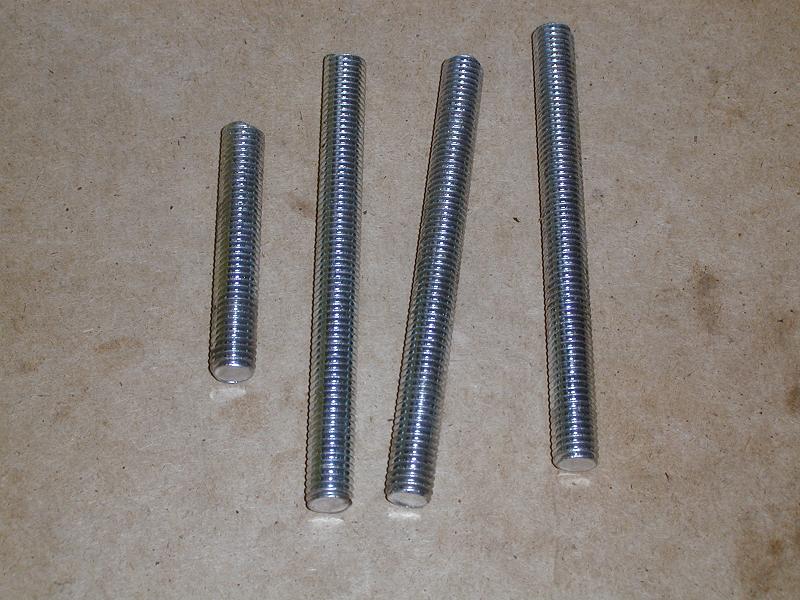
Made custom alignment studs from 1/2" x 6" bolts.
Transmission is on the alignment studs. Input shaft is at the pilot bearing.
Transmission is seated. Stock mounting bolts were installed.
Transmission right side.
|
|