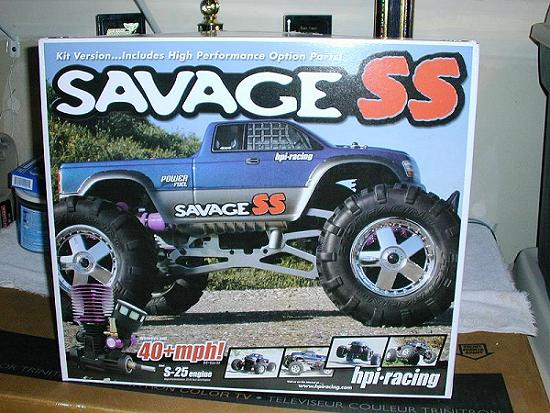
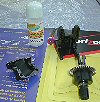
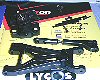
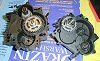
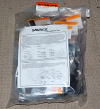
| The retail box. |
|
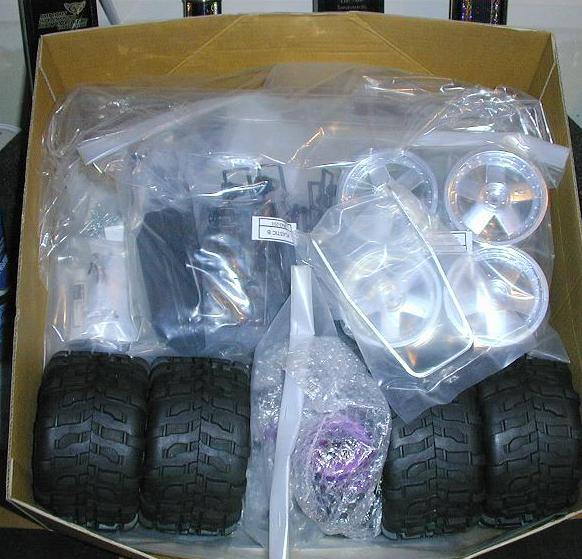
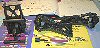
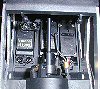
| Inside the box. |

|
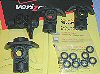
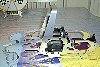
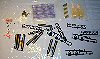
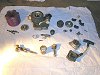
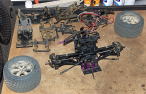
| Many HPI hopups. |

|
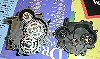
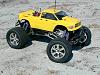
| I painted the body with Pactra Metallic Blue, Pactra Indy Silver, and Pactra Outlaw Black. Pictures taken while painting the body can be found here. |
|
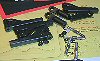
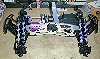
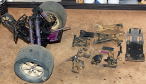
| One of the two Savage rear ends. |

|
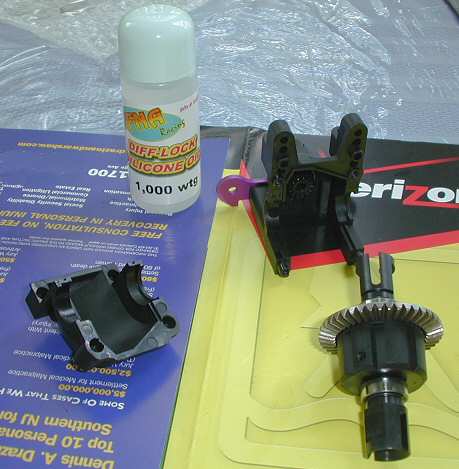
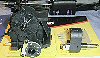
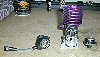
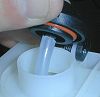
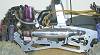
| Disassembled rear, diff case is out, diff locking fluid shown. Going to use that for better diff performance. |
|
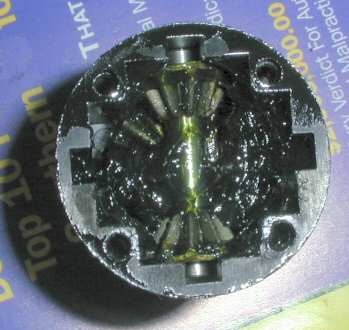
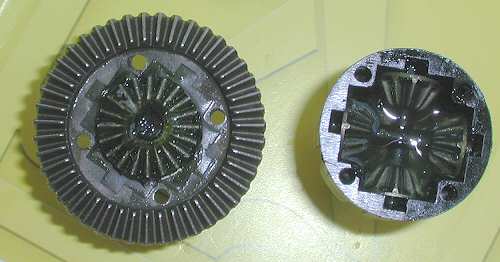
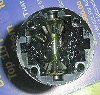
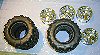
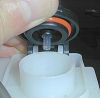
| Inside the stock diff. The case has two spider gears and the stock grease. |
|
| Cleaned out stock grease, installed 4 spider gears with 2 cross pins for additional strength. I filled diff with lock-up fluid for better 4WD performance & traction. The diff is a standard "open-end" rear; locking fluid makes it perform like a limited slip unit. Front diff got 1000W and the rear diff got 3000W. |

|
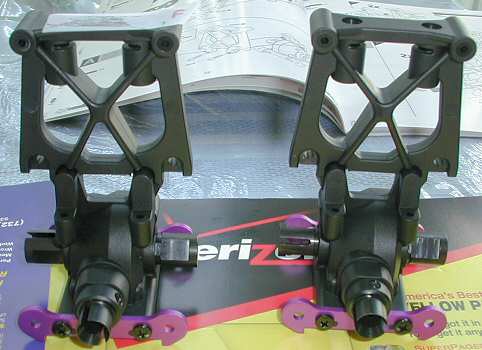
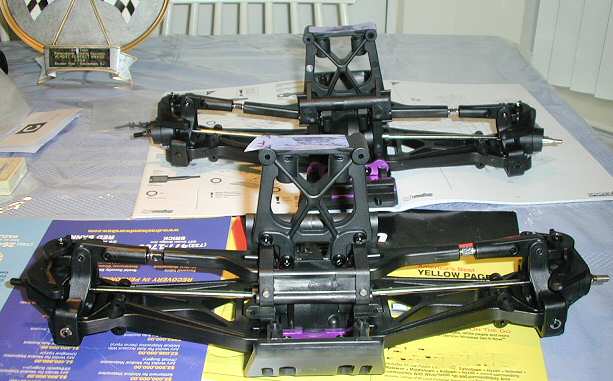
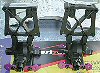
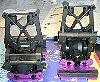
| Starting to assemble rears to bulkheads (View 1). |
|
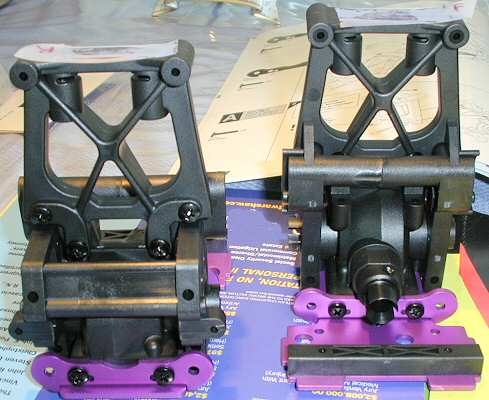
| Starting to assemble rears to bulkheads (View 2). |
|
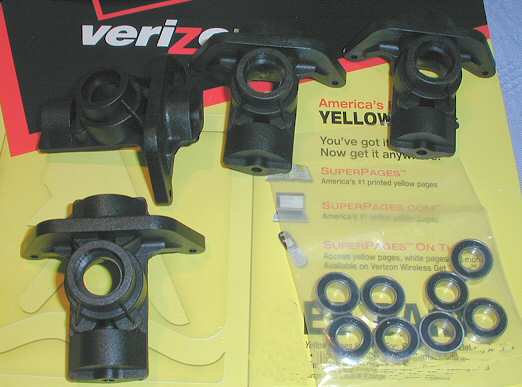
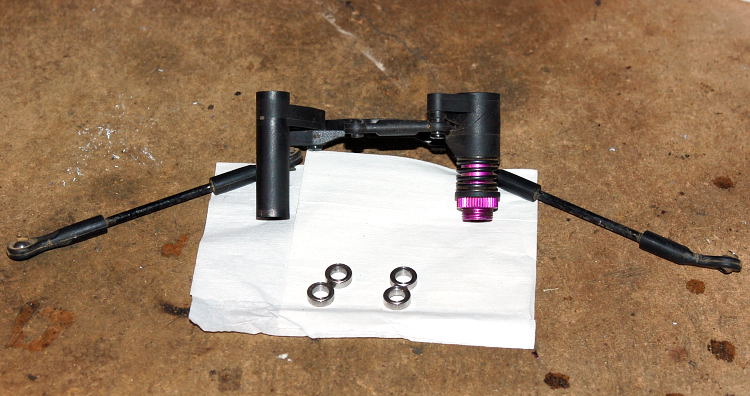
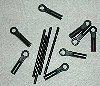
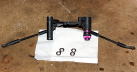
| The turnbuckles and their bearings. |
|
| Building upper suspension arms, fully adjustable. |
|
| Upper arms done, building lower arms. |
|
| Suspension arms done. |
|
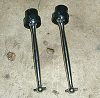
| Arms attached to front & rear bulkheads with SS heavy-duty silver dog bones. |
|
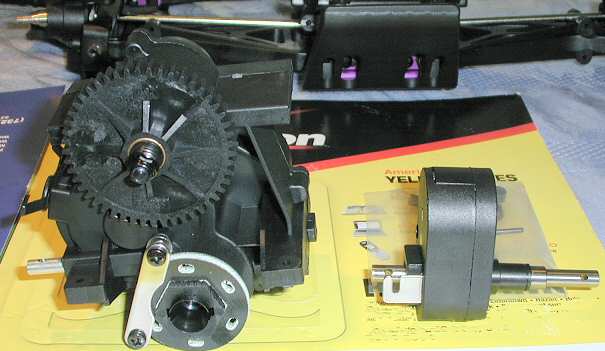
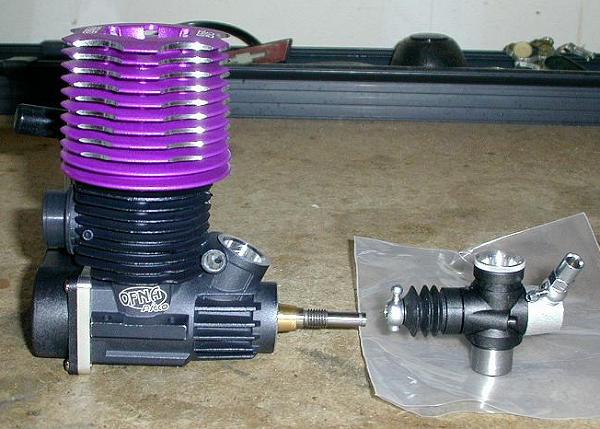
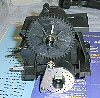
| Two speed transmission with stock single fiber disc brake. Optional reverse module shown on right. |
|
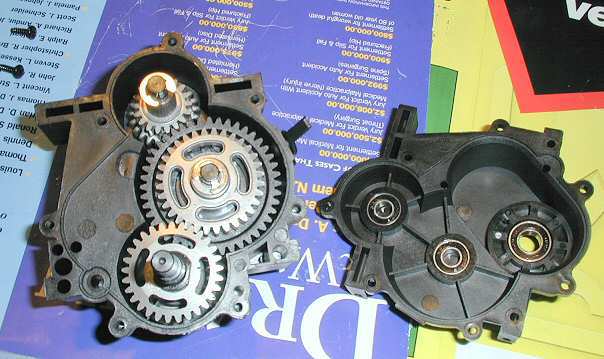
| Transmission open to install reverse module. |
|
| Reverse installed in transmission. |
|
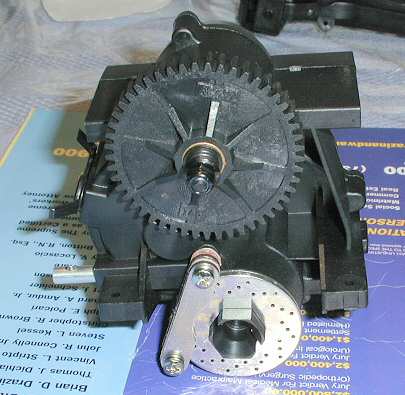
| Optional dual stainless steel disc brakes installed on transmission output. |
|
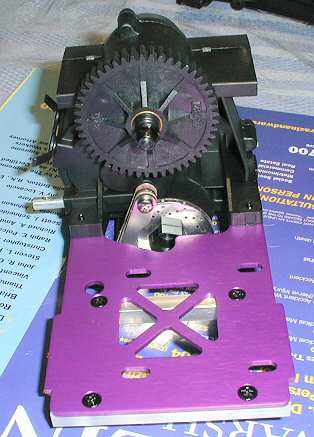
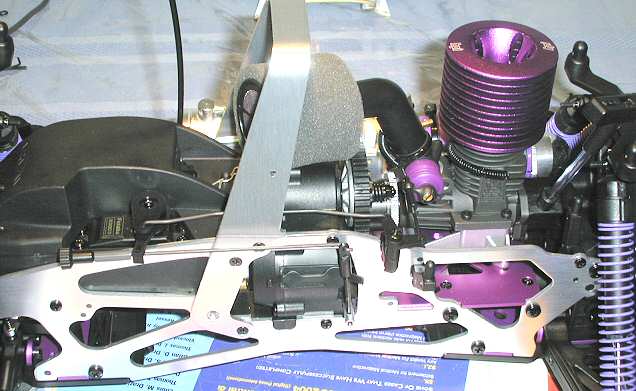
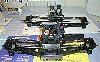
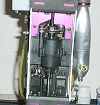
| Transmission installed on transmission/motor mount plate. |

|
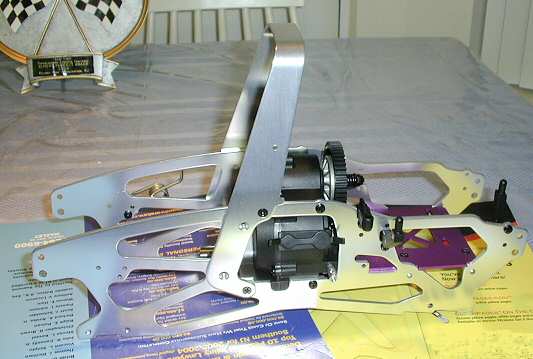
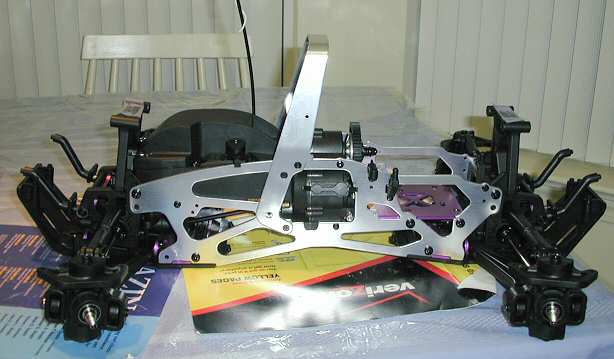
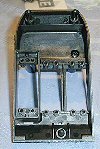
| Chassis installed around mounting plate. |
|
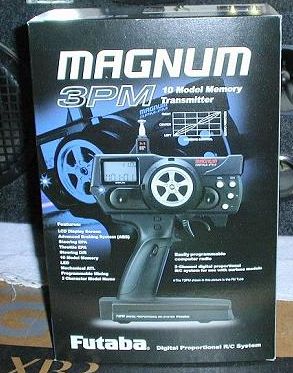
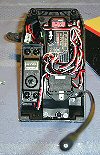
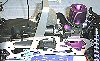
| The radio I am going to use is a computerized Futaba 3PM with ABS. |

|
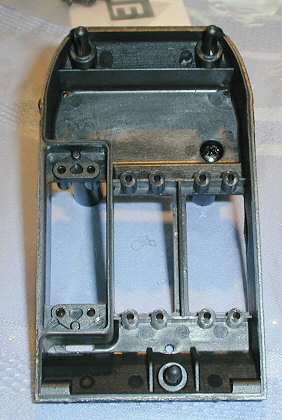
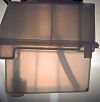
| Empty radio box. |
|
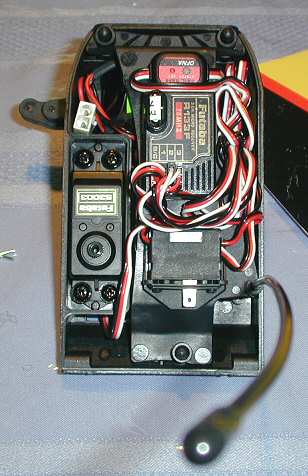
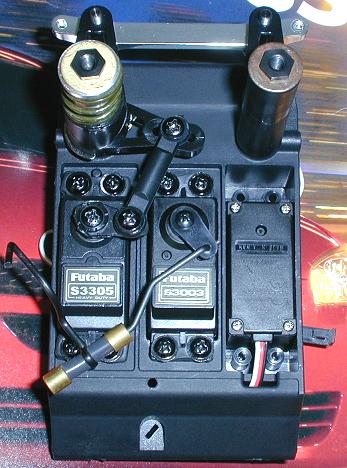
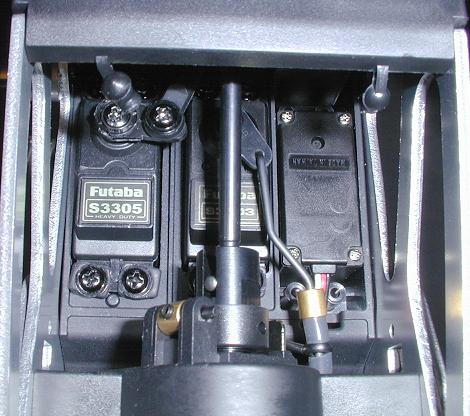
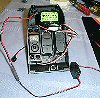
| Two Futaba S3003 standard servos, one Futaba S3305 HT Metal gear servo, and a 6V NiMH receiver battery pack (with charge port) installed. |
|
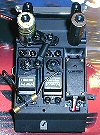
| Futaba R133F 3-channel FM receiver and Ofna failsafe installed. |
|
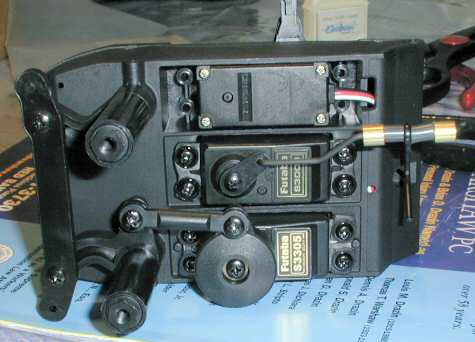
| Linkages for steering and reverse gearbox on bottom of radio tray. |

|
| I decided to upgrade the steering. I went with an Ofna Monster Pirate Servo Saver/Steering post set and an Integy Alloy Steering Center Link Plate. |
|
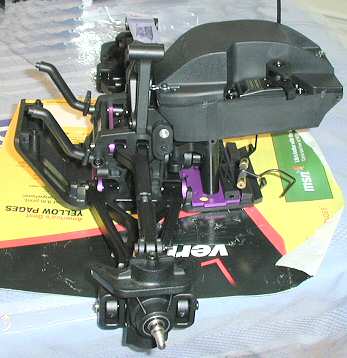
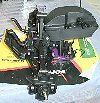
| Radio box installed on front bulkhead. |
|
| Front & rear bulkheads installed on chassis. Heavy-duty dog bones connect transmission to front and rear. Connected transmission linkage. Tested the reverse module while spinning the transmission input by hand. Reverse module shifts perfectly and works with no detectable drive train drag while in forward. There is a slight drag when in reverse. |
|
| Picture of the reverse module linkage. |
|
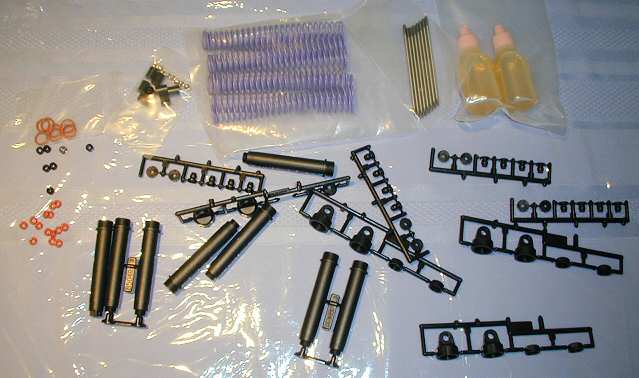
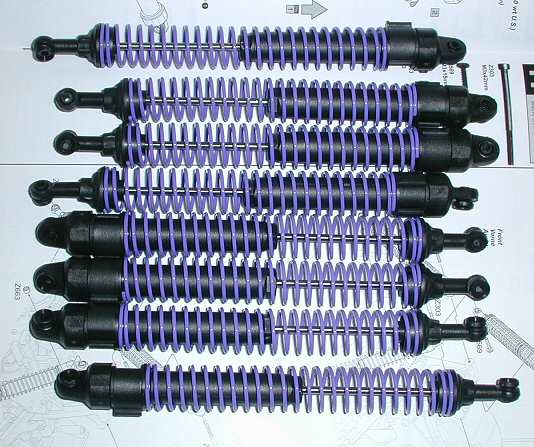
| Shock parts. |
|
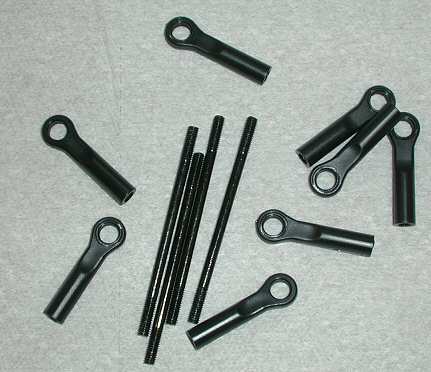
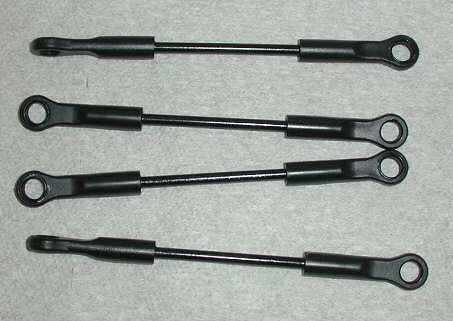
| Tie rods parts. |
|
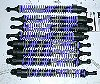
| Built the shocks and filled them with oil. |
|
| Built the tie rods. Set the front tie rods to 44mm and the rears to 44.5mm. |

|
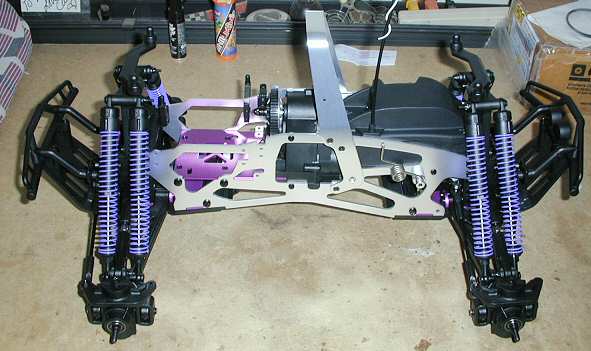
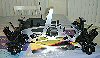
| Installed bumpers, body mounts, shocks, and tie rods. |
|
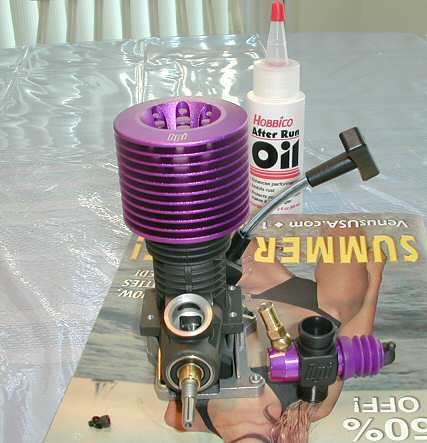
| Sealing engine backplate with high-temp RTV. |
|
| Sealing carb mount with high-temp RTV. |
|
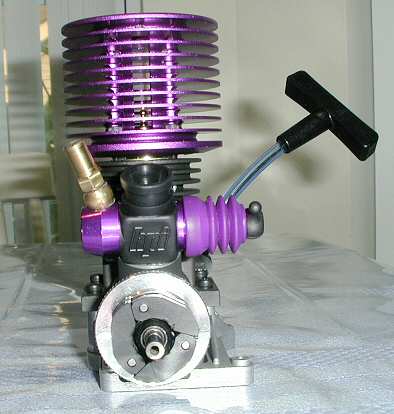
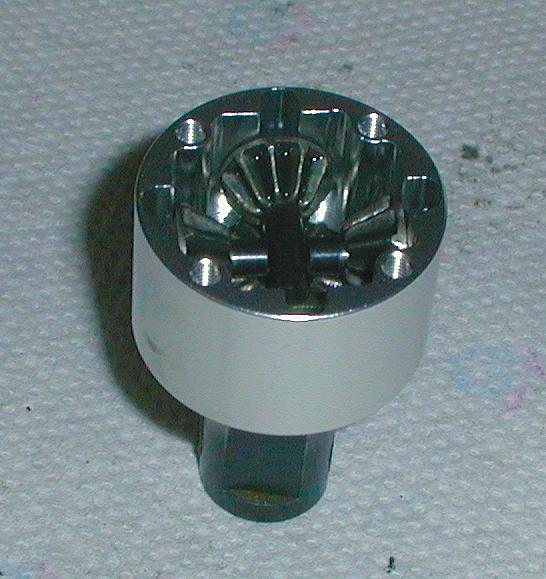
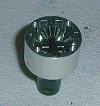
| Installed optional 3-shoe flywheel. |
|
| Installed optional 3-shoe clutch. |
|
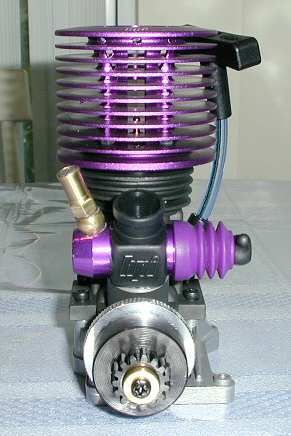
| Installed spacers, bearings, and 15T clutch bell. |
|
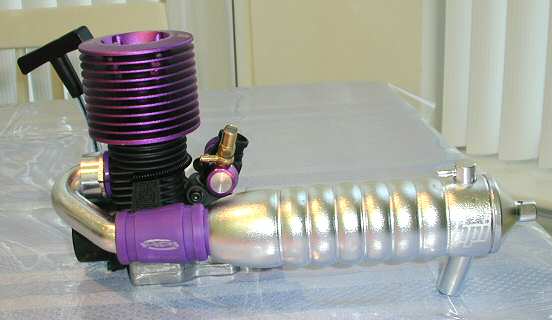
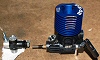
| Ripple pipe on motor. |
|
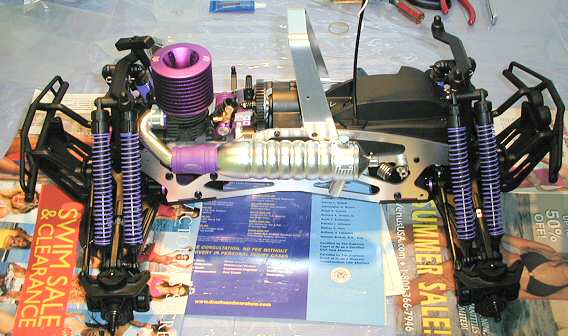
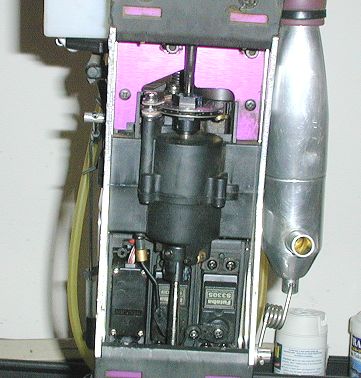
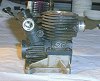
| Installed motor in vehicle. Set the gear mesh with a strip of paper. |
|
| Installed throttle and brake linkages. Also installed a MotorSaver air filter. |
|
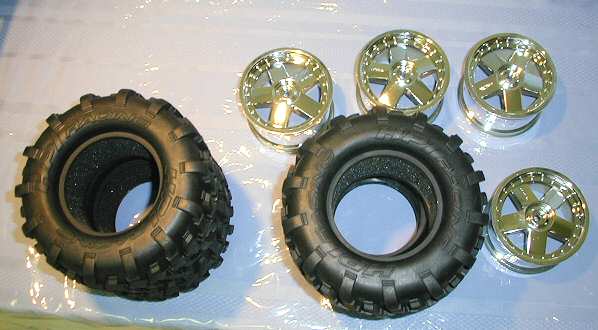
| Rims and tires. |
|
| Glued the tires with Medium CA with the treads in the correct direction. Installed the rims on vehicle. Also installed fuel lines and an optional primerless tank. |
|
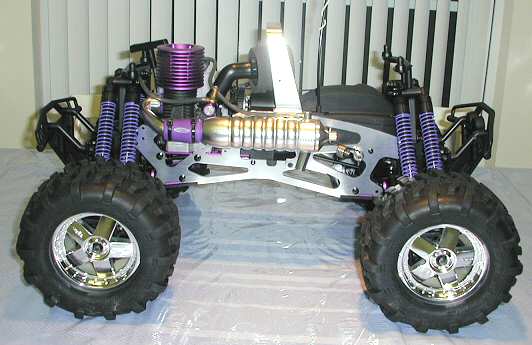
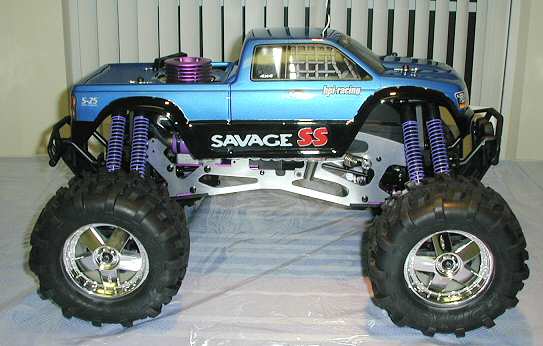
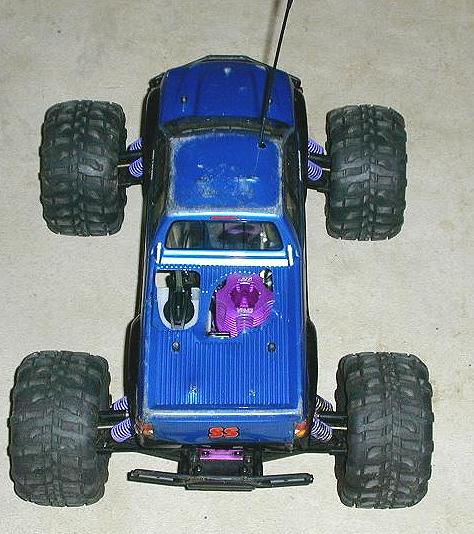
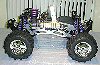
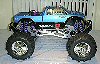
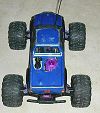
| Mounted my painted body on the vehicle. The last thing I need to do is align the suspension. |
|
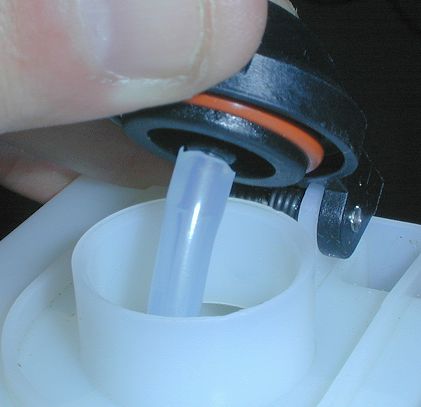
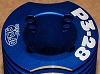
| Decided to do the fuel tank Uniflow mod to prevent leaning as the fuel level drops. Put a small section of a Bic ink tube into the cap. |
|
| Ran fuel line from cap down to the bottom of the tank. |
|
| View inside the tank. |
|
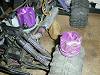
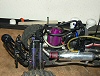
| 23 inch pressure line with a purple Ofna filter on the front shock tower. |
|
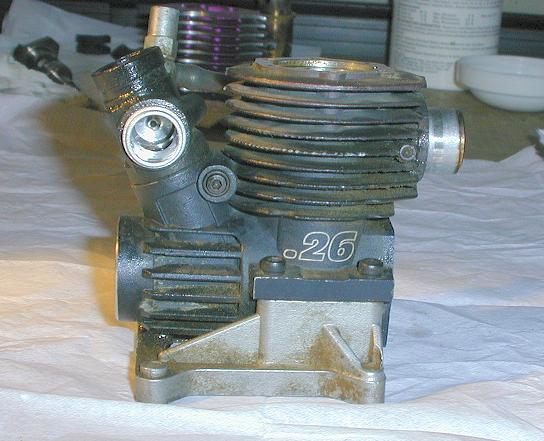
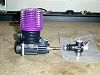
| Ran 3 gallons through the S-25 and then replaced it with a Ofna Picco 26. The S-25 still had good compression and it ran great when I replaced it. I just wanted more power. |
|
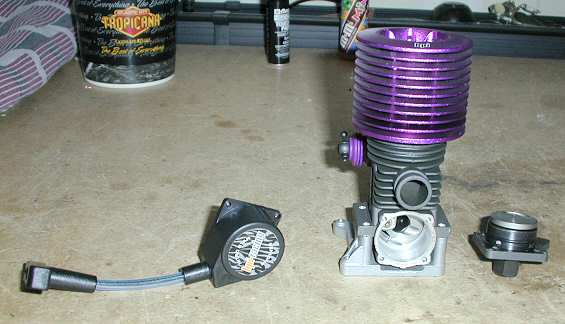
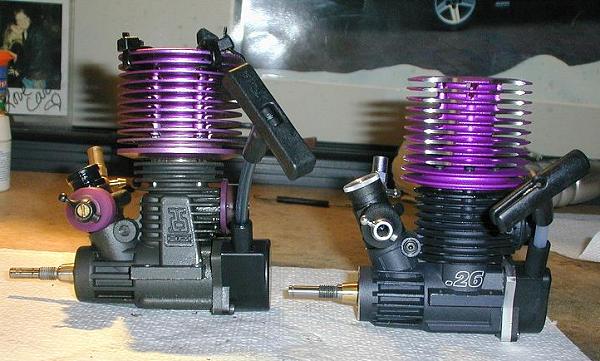
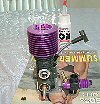
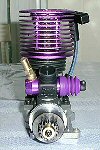
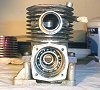
| S-25 and the Picco 26. I used the optional 9mm carb insert and the optional black LSN. |

|
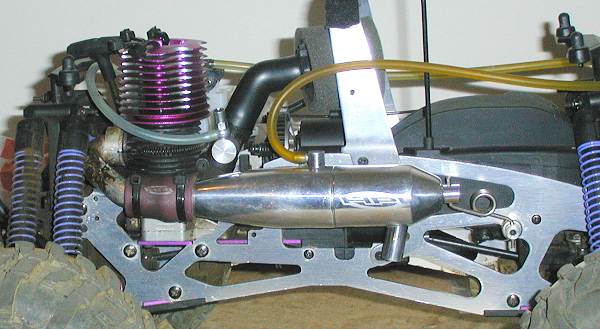
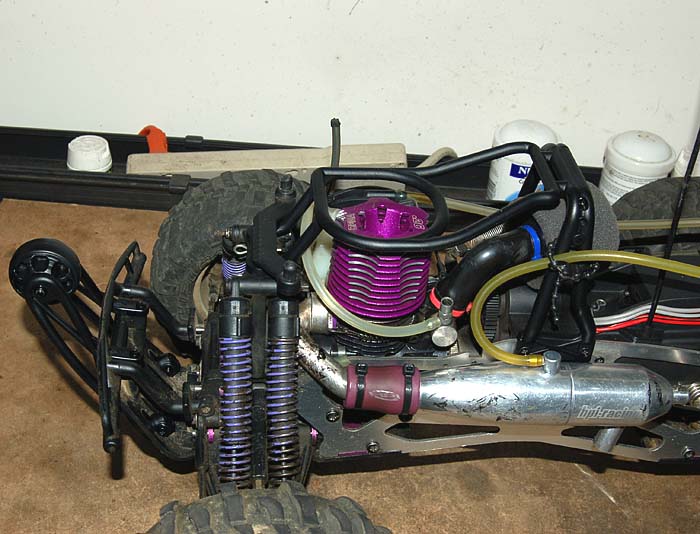
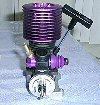
| The Picco 26 installed in the truck. The motor starts right up, runs cool, and it makes monster power. Huge power wheelies from a roll are no problem even with high speed 18/47 gearing. Click HERE for videos. |
|
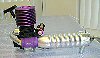
| Installed HPI's Polished Aluminum Dual Chamber Pipe. |
|
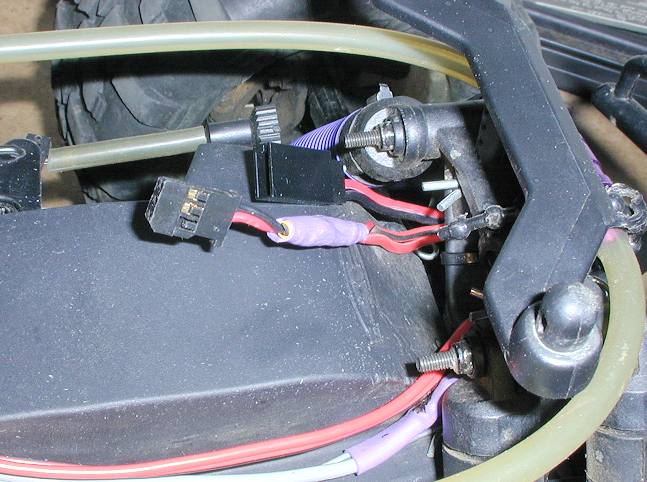
| Charge port and transponder port. |

|
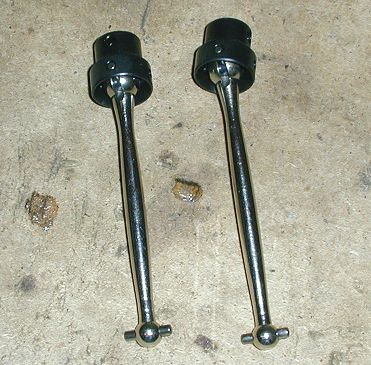
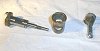
| Got a pair of HPI Universal Dogbones to replace my worn drive cups and dogbones. |
|
| Installed the Universal Dogbones. |
|
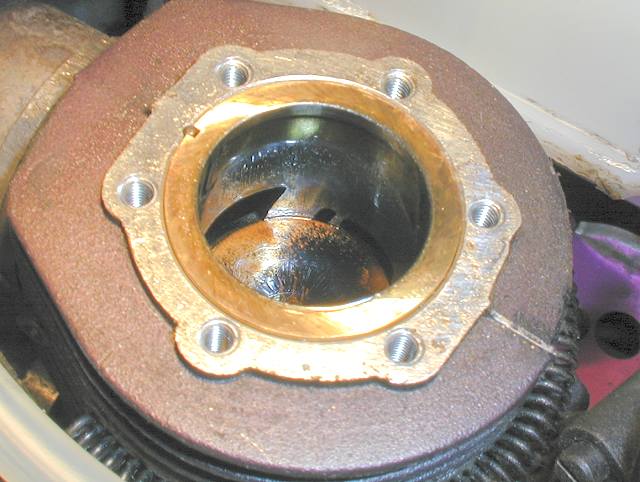
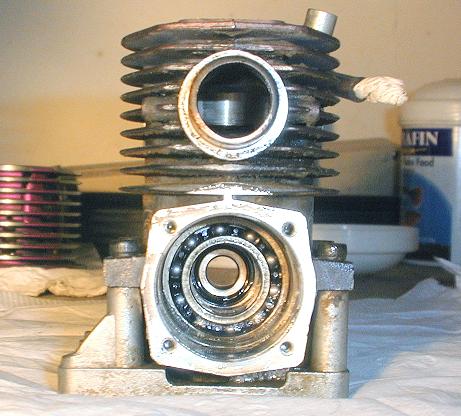
| Had to replace the Picco head after close to 4 gallons. This is what the sleeve looked like. |

|
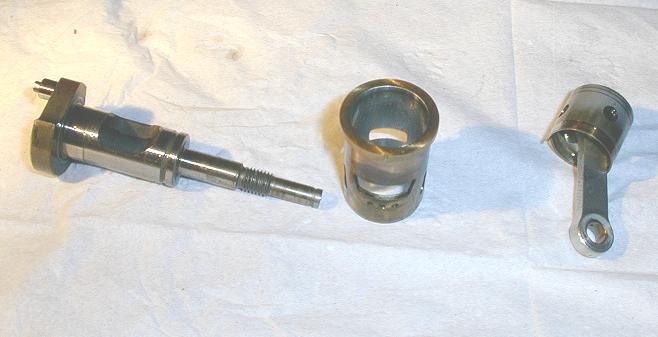
| Old broken head and new head. |
|
| Clean the Motor. |
|
|
| Clean the Motor. |

|
|
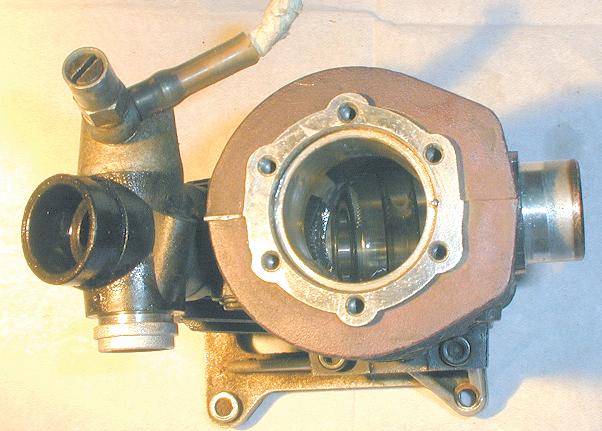
| Block. |
|
| Aluminum Diff Case for the Rear. |
|
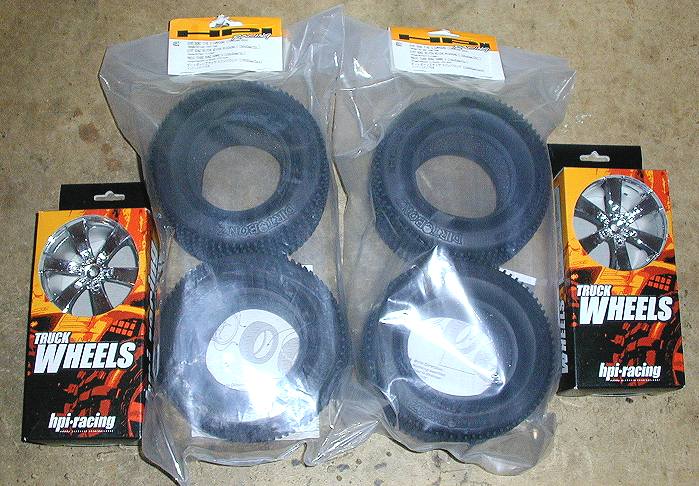
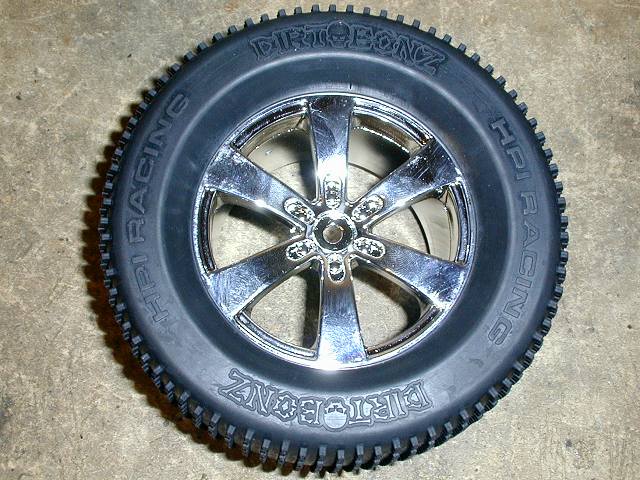
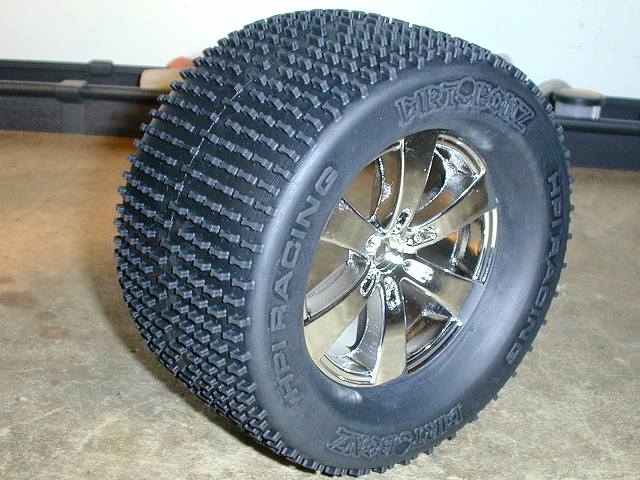
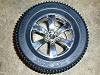
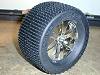
| HPI Q6 wheels and Dirt Bonz tires. |

|
| Mounted tires. |
|
|
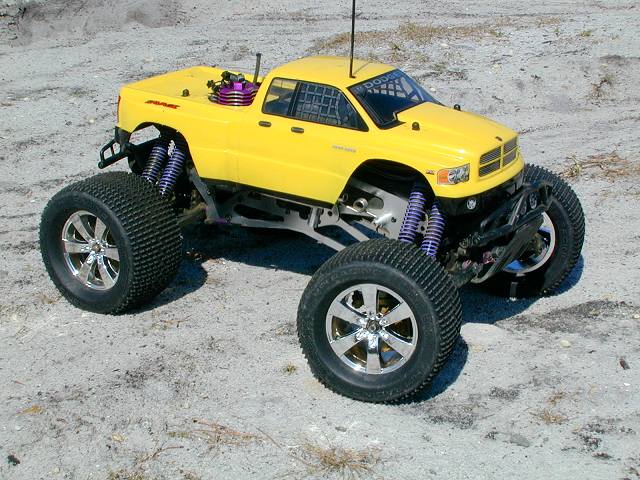
| Race ready. |
|
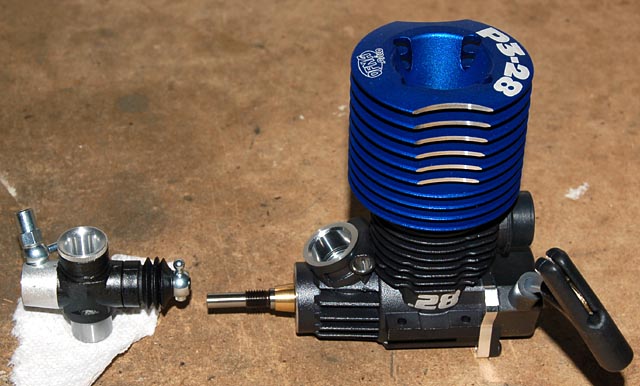
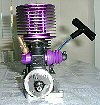
| Picco .28 waiting to be installed. |
|
|
| HPI wheelie bar and roll cage. |
|
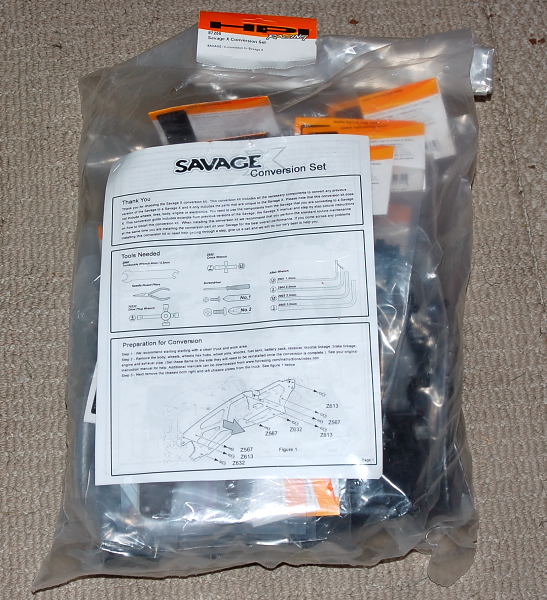
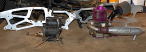
| Savage X conversion kit. |
|
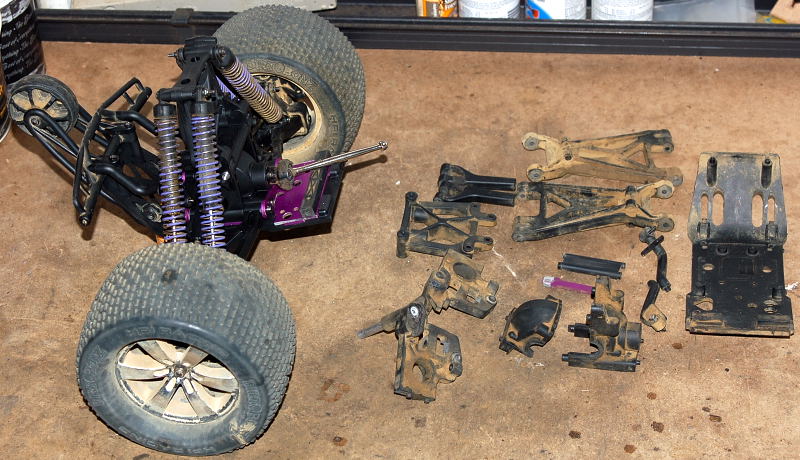
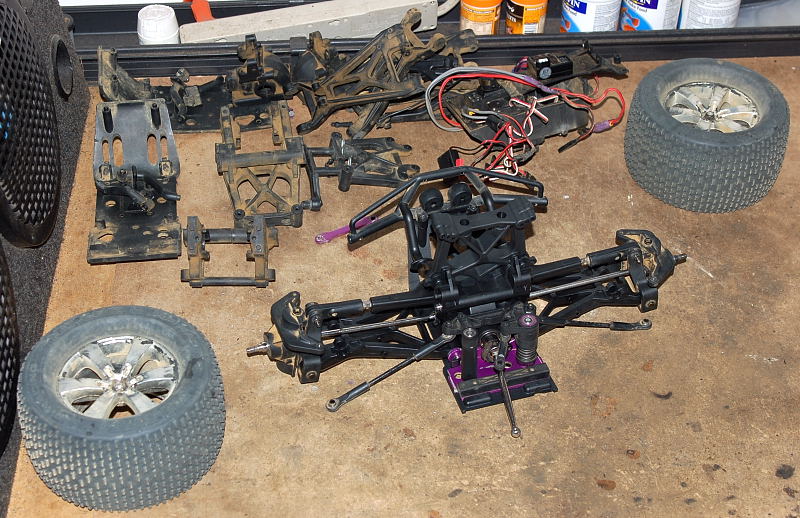
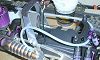
| Rebuilt rear suspension with X parts. |
|
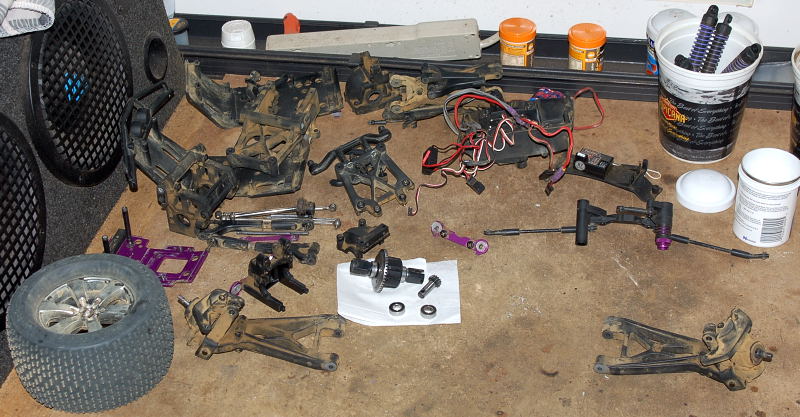
| Disassembled front suspension and radio box. |

|
| HPI Cam Type Servo Saver with Bearings (not part of the kit). |
|
| Assembled front suspension with X parts. |
|
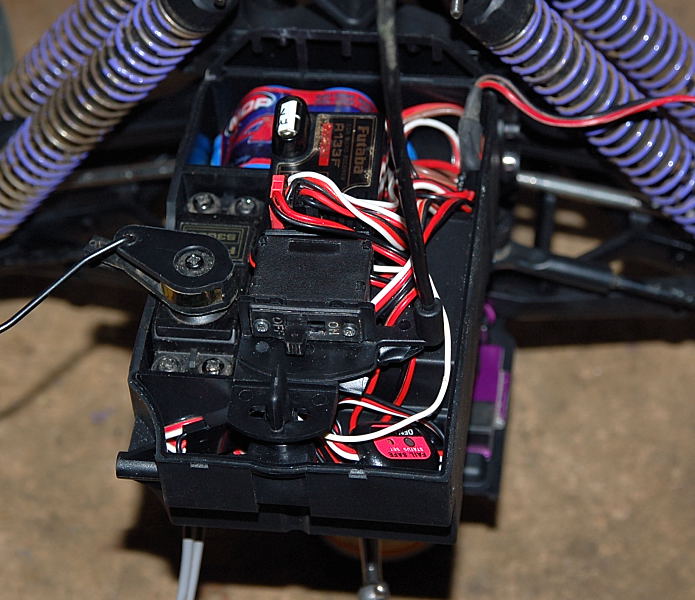
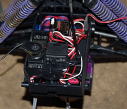
| X Radio Box, charge port lead on the top right. |
|
| Radio box complete, transponder lead coming out the bottom. |
|
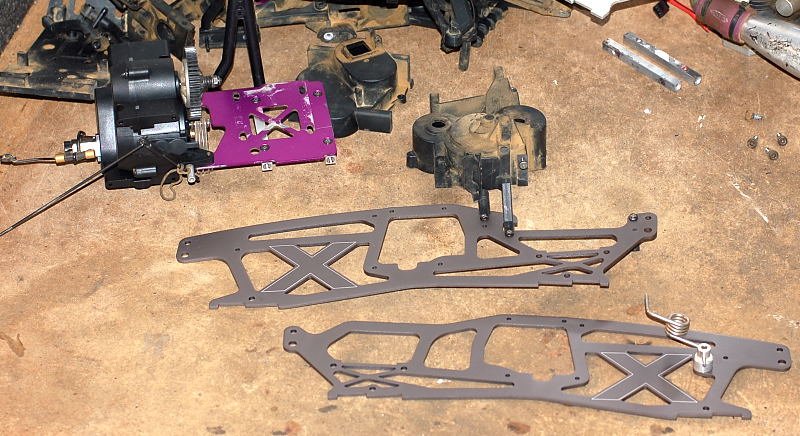
| Old transmission case and TVPs. |
|
| New transmission case on the engine mount, new TVPs. |

|
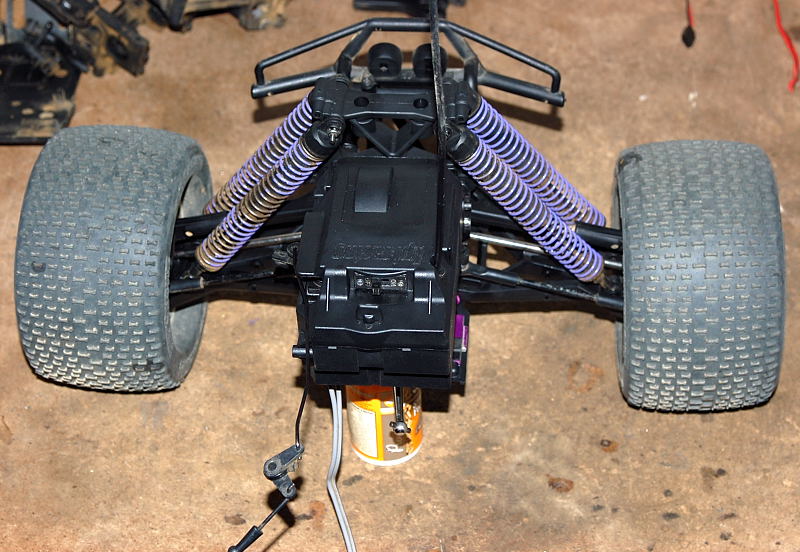
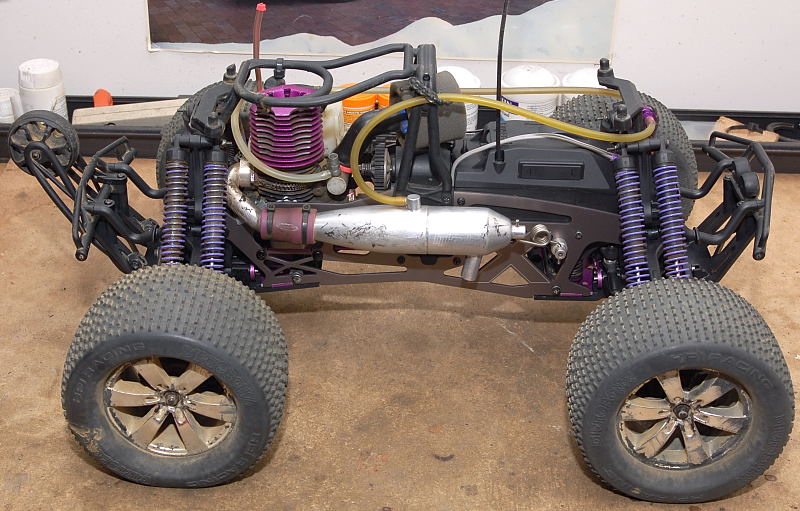
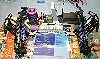
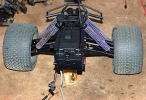
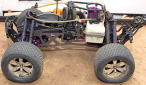
| X conversion done, left side. |
|
| X conversion done, right side. |

|